Last Updated on May 11, 2022 by Larious
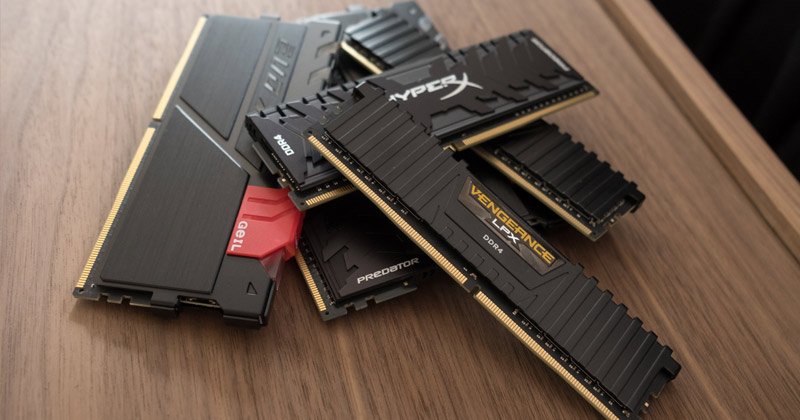
RAM is one of the essential components of a PC/Laptop, and knowing the exact RAM specification may come in handy in several situations. For example, while troubleshooting problems on Windows PC, the technician might ask you to provide the RAM details.
Other than that, knowing the RAM specification of your current PC might help you plan your next PC build. Whatever might be the reasons, Windows 11 provides you few ways to check the RAM information.
Table of Contents
4 Best Ways to Check RAM Information on Windows 11
This article will share a step-by-step guide on checking RAM information on Windows 11. Hence, if you are looking for ways to check RAM information on your Windows 11 PC/Laptop, you are reading the right guide. Let’s get started.
1) Check RAM information via Settings
We will use the Windows 11 Settings app to check the RAM information in this method. Follow some of the simple steps we have shared below.
1. First of all, click on the Windows 11 Start button and select Settings.
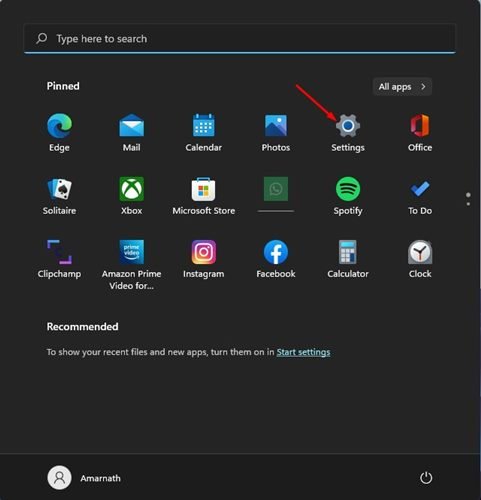

2. On the Settings app, click on the System option on the left pane.


3. On the right pane, scroll down and click on the About.


4. Next, expand the Device specification and check the Installed RAM. This will show you the amount of RAM installed on your PC.


That’s it! You are done. This is how you can check the amount of RAM installed on your PC on Windows 11.
2) Check RAM speed on Windows 11
The above method we have shared doesn’t list additional RAM information such as the Speed, Slots used, etc. Hence, you need to follow this method to find additional information about RAM.
1. First, click on the Windows 11 Search and type in Task Manager.


2. On the Task Manager, switch to the Performance tab as shown below.


3. On the Performance tab, select Memory.


4. On the right pane, you will see the memory speed, the number of slots used, and other details.


That’s it! You are done. This is how you can check the RAM speed via Task Manager on Windows 11.
3) Check RAM Information via Windows Terminal
In this method, we will use the Windows Terminal to check the total availability of system memory and a few other details. Here’s what you need to do.
1. First, click on the Windows 11 search and type in Windows Terminal.
2. Next, open Windows Terminal from the list of options.
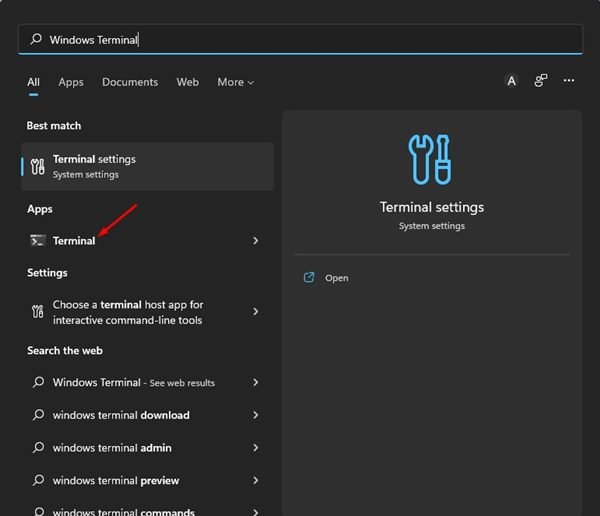

3. On the Windows Terminal, execute the command:
systeminfo


4. Now, Windows Terminal will show you much information about your system. You need to check the Total Physical Memory section to find the total RAM.
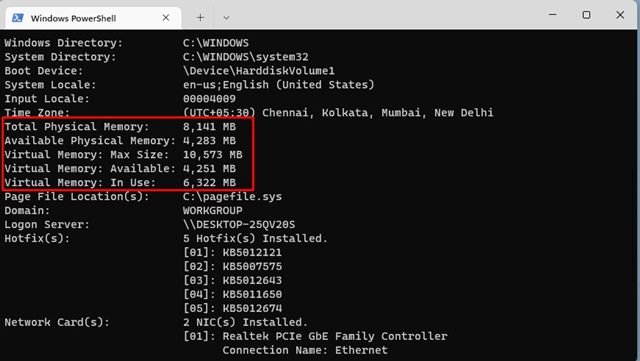

5. It also shows other information such as available RAM, Virtual memory, etc.
That’s it! You are done. This is how you can check RAM information on Windows 11 via Task Manager.
4) Check RAM information on Windows 11 via System Information
In this method, we will use the System information app of Windows 11 to check RAM information. Here’s what you need to do.
1. First of all, open Windows 11 search, type in msinfo, and hit the Enter button. From the list of options, click on the System Information app.


2. This will open the System Information app on your Windows 11 PC.
2. On the System Information window, select the System Summary section, as shown in the screenshot below.
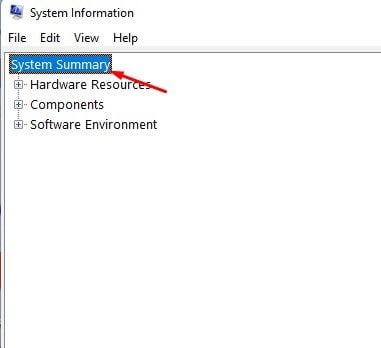

3. Check the Installed Physical Memory and Total Physical Memory option on the right pane. This will list the total amount of RAM installed on your system.


These are the few best ways to check RAM information on Windows 11. You can also use third-party system information apps to check the RAM information on your Windows 11 PC. If you want to know more about your PC’s specifications, check out our guide – How to Check Your PC’s Full Specification On Windows 11.
