Last Updated on June 4, 2020 by Larious
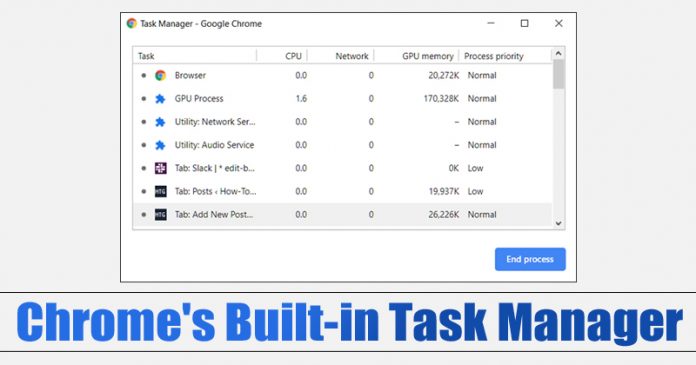
Well, if you have been using Windows operating system for a while, then you might be well aware of the Task Manager. Task Manager is a resource monitor utility that lets you see all active apps and processes. Similarly, Google Chrome also has a built-in task manager to see extensions and tabs using the most resources.
Google Chrome’s Task Manager could be handy if you know how to use it. Most of the users don’t even know that the Chrome browser has a task manager to deal with extensions and unresponsive tabs. The built-in task manager of the Chrome browser could help you troubleshoot tabs and extensions.
Here’s How to Use Google Chrome’s Built-in Task Manager
So, in this article, we have decided to share the best method to use Chrome’s built-in Task Manager. You don’t need to install any third-party app as the option is hidden under the settings. So, let’ explore how to use Chrome’s Built-in Task Manager on Windows 10.
Step 1. First of all, open the Google Chrome browser on your Windows 10 PC.


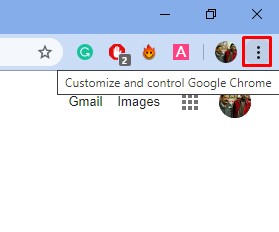
Step 2. Now click on the three dots button.

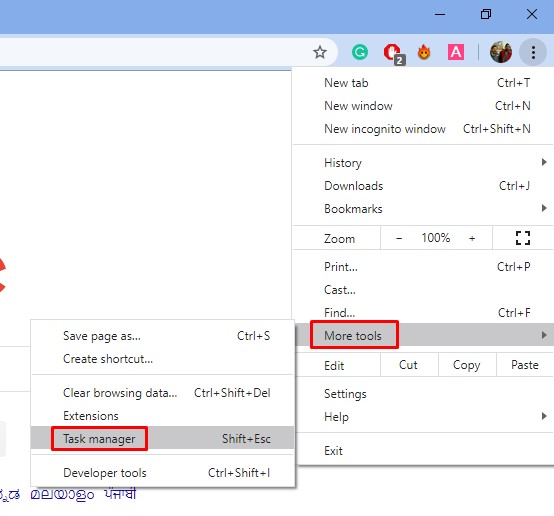
Step 3. Select More Tools > Task Manager.

Step 4. This would open Chrome’s hidden Task Manager.


Step 5. To end any troublesome process, select the process and click on ‘End Process’ button.
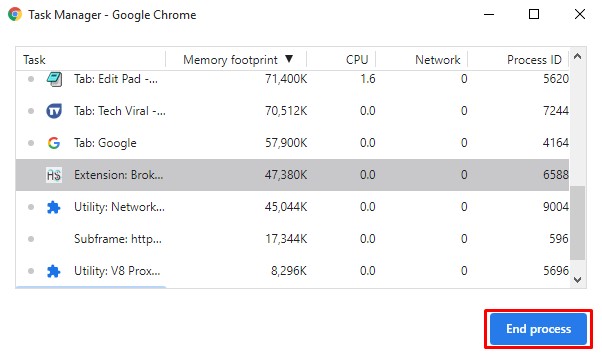

Step 6. You can also choose multiple processes to end them.
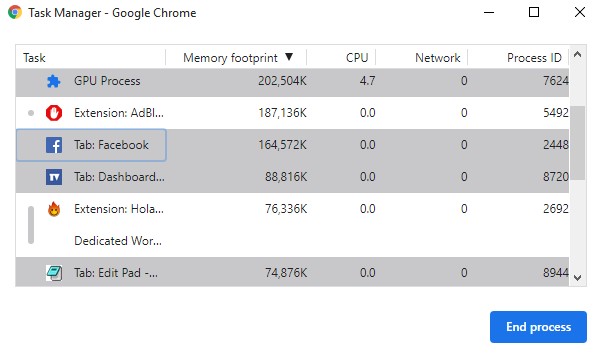

Step 7. To find out the resources each task is using up, right-click on the Task, and select the desired stats from the context menu.


Step 8. To find which process is using more RAM resources, click on the ‘Memory Footprint’ tab.


That’s it! You are done. This is how you can use Chrome’s built-in Task Manager on Windows 10.
So, this article is all about how to use Chrome’s built-in Task Manager on Windows 10. I hope this article helped you! Share it with your friends also.

