Last Updated on July 7, 2020 by Larious
Although it’s true that Microsoft’s Windows operating system right now powers more than three-fourths of the PC’s in the world, it was always overruled by the MacOS due to its appearance. Over the past few years, Microsoft has been working hard to enhance the look of the operating system.
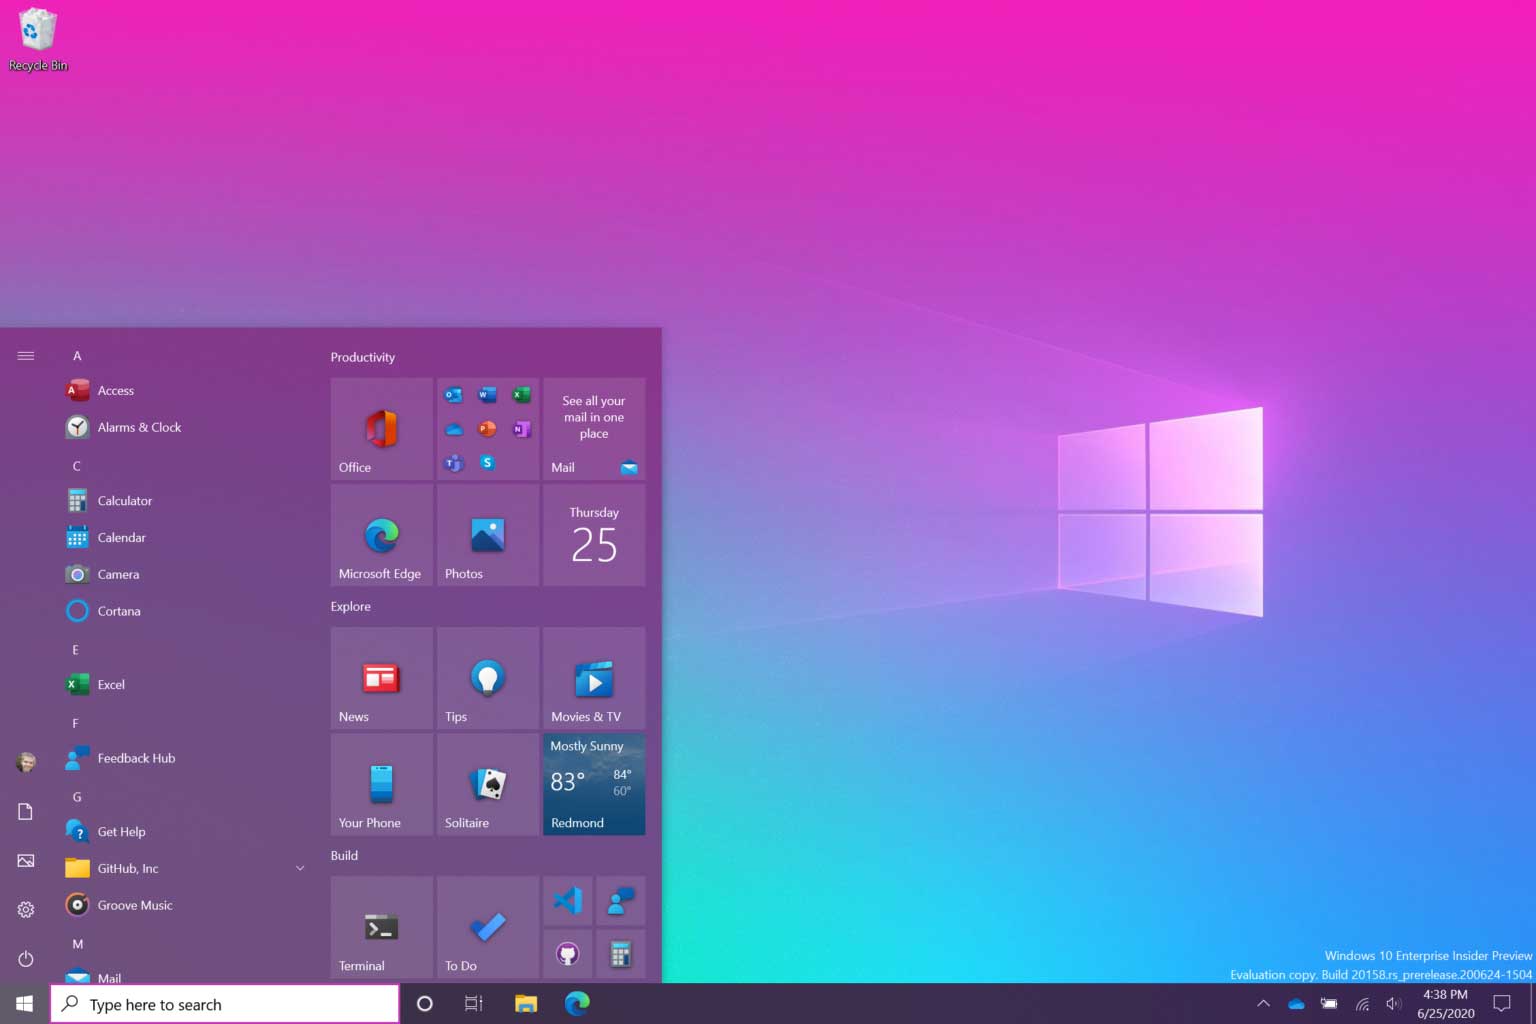
The previous week, Microsoft rolled out the new Windows 10 Start Menu to Windows 10 insiders on the Dev Channel. However, the new Start Menu was a part of an A/B test, meaning many people were stuck with the old look.

So, if you are using the latest Windows 10 Build 20161, still you are unable to see the new Start Menu, then you need to follow some of the simple steps given below. In this article, we are going to share the best method to enable the new Start Menu in Windows 10 Build 20161.
Apart from a new Start menu, the latest update also brings lots of security features. Some of the key features of the latest Windows 10 Build 20161 are as follows – Polished icons, 4K wallpapers, improved Cortana, New Start Menu, etc. So, let’s check out how to activate the new start menu in Windows 10.
1. Using ViveTool
For those who don’t know, Vive is an open-source tool created to enable hidden features in Windows. That means, it can activate the feature that exists in the OS. We will be using ViveTool to activate the new start menu.
- First of all, download & install ViveTool on your PC
- Now you need to extract the file into a folder.
- Next, right-click on the Start button and select ‘Command Prompt (Administrator)’
- On the command line, enter the patch where you have unpacked the tool.
- Next, type in the following command –
ViVeTool.exe addconfig 23615618 2(There’s a space between 8 and 2 at the end) - Once done, restart your PC.
Upon the Restart, you will be able to use the new Start Menu of Windows 10.
So, this article is all about how to activate the new start menu of Windows 10. I hope this article helped you! Share it with your friends also.
