Last Updated on July 15, 2020 by Larious
If you have been using Windows operating system for a while, then you might be well aware of CMD. CMD or Command Prompt is one of the most powerful tools in Windows. The command-line utility is used to operate a wide range of tasks. For instance, you can easily open registry, flush DNS, find IP Address, reset network adapters, etc. with Command Prompt.
The command-line interpreter is also used to access some of the core features of Windows. If you are someone who uses the Command Prompt utility for most of your tasks, you likely often have multiple CMD windows open at the same time on your screen. Well, managing multiple CMD Windows at the same time could be difficult and, at times, can confuse you.
So, to deal with such issues, Microsoft introduced tabbed Command Prompt Interface. Just like your browser tabs, you can enable tabs in your Command Prompt Windows. It will help you avoid getting your screen cluttered and will also enhance your Command line experience.
Step to Enable Tabs in your Command Prompt Window
In this article, we have decided to share a working method to enable tabs in the Command Prompt Window. So, let’s check out how to use the Tabbed Command Prompt in Windows 10 computer in 2020.
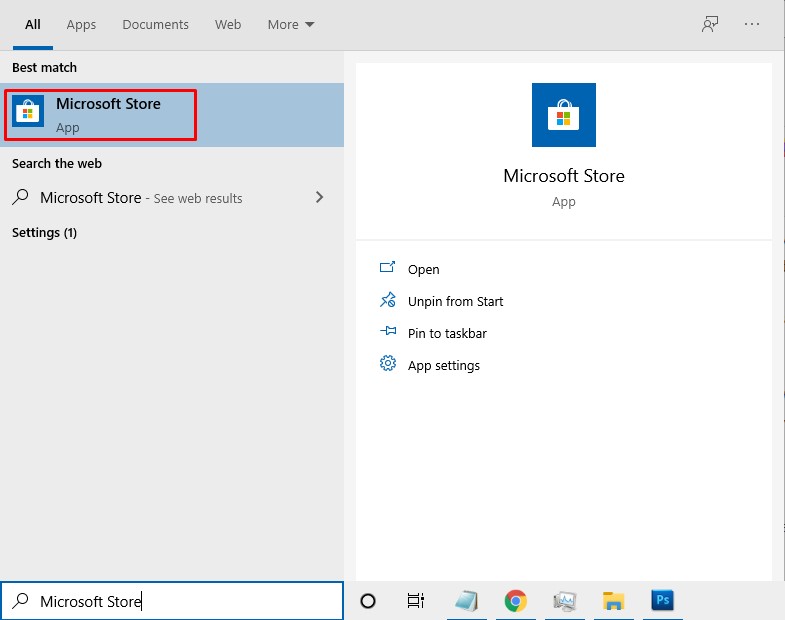
Step 1. First of all, open Microsoft Store on your Windows 10 PC.
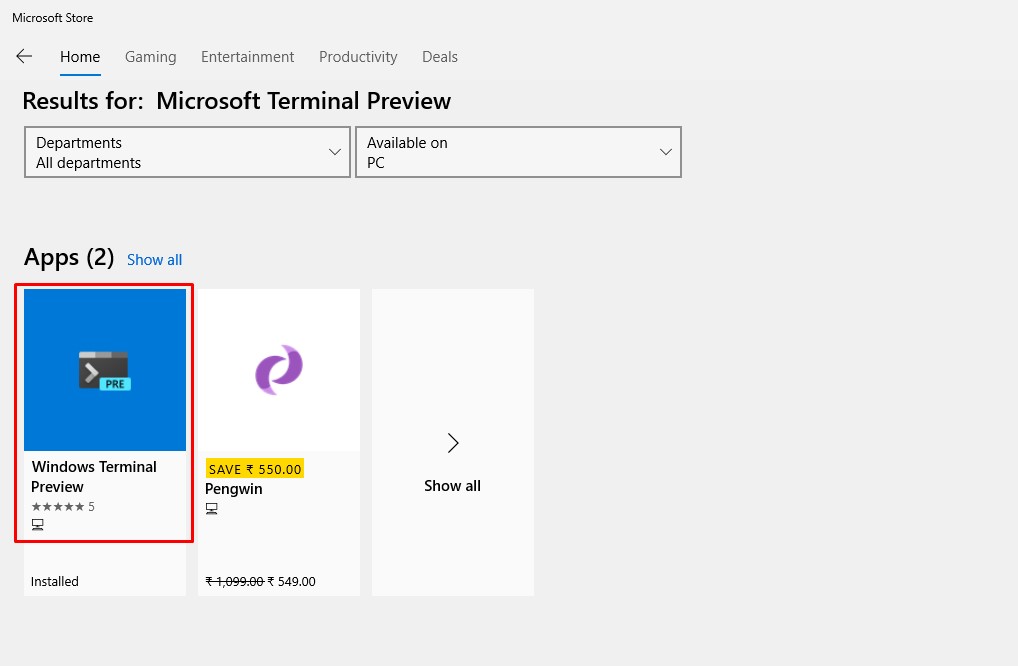
Step 2. On the Microsoft Store, search for ‘Windows Terminal Preview‘

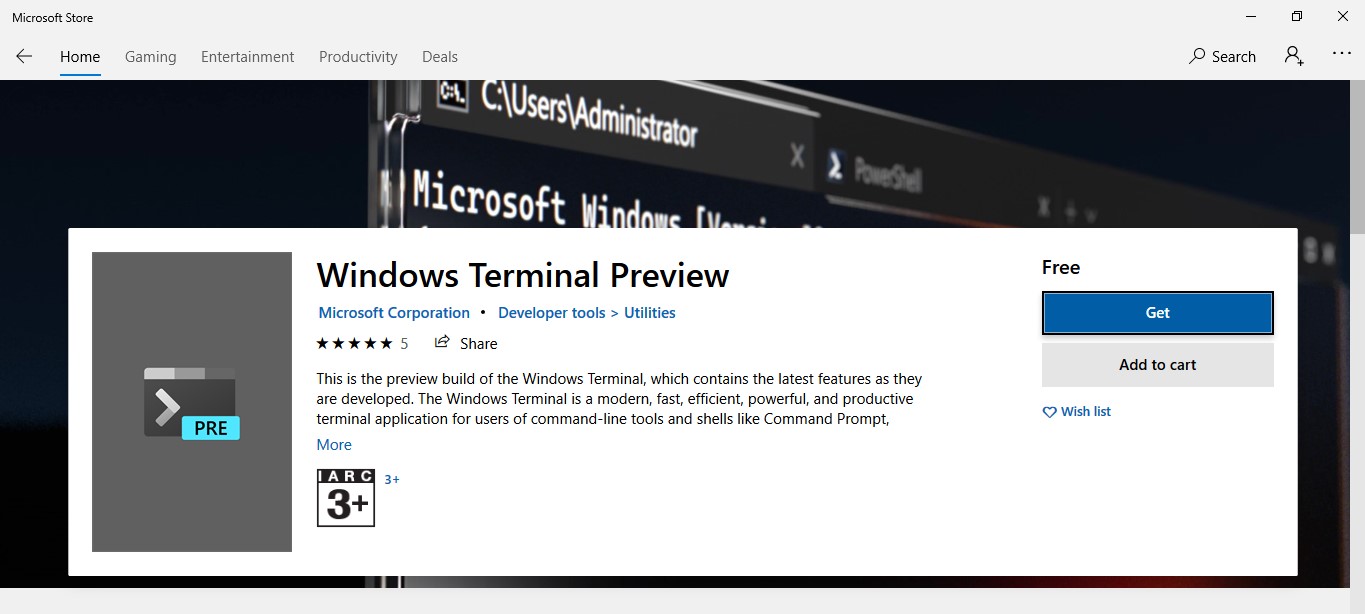
Step 3. Click on the ‘Get’ button and wait until the program installs.

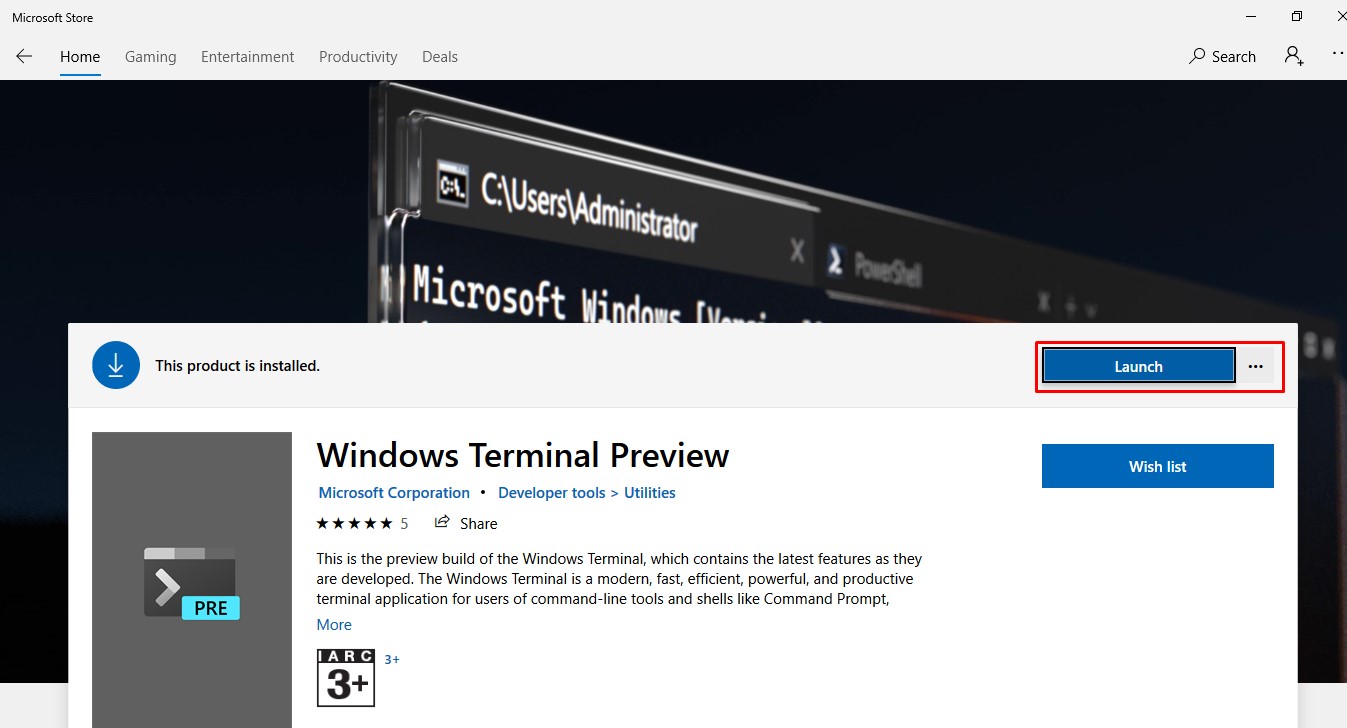
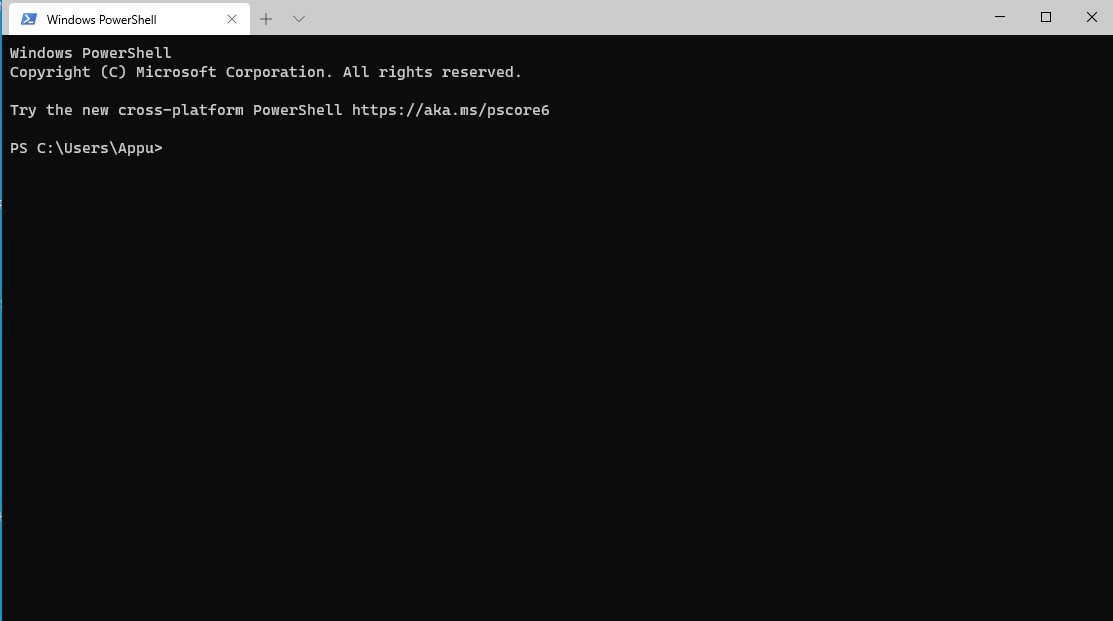
Step 4. Once done, launch the Windows Terminal App.

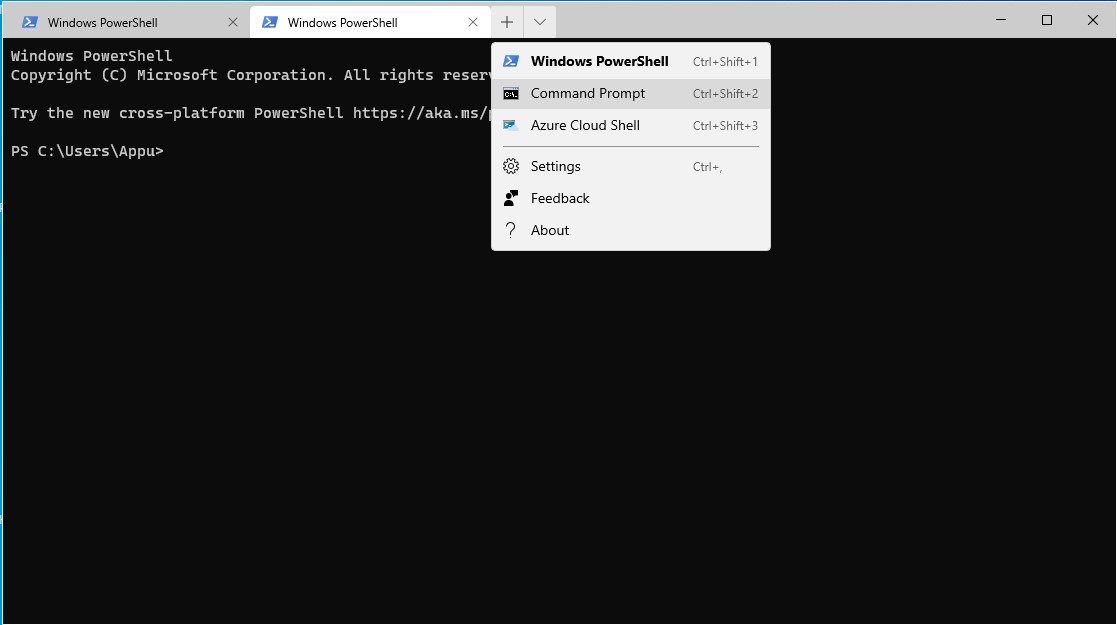
Step 5. Now you will see the tabbed interface on Command Prompt.

Step 6. You can choose from any of the available options in the new tab like ‘Windows Powershell’, ‘Azure Cloud Shell’, and ‘CMD’.

That’s it! You are done. This is how you can use the Tabbed Command Prompt in Windows 10 computer.
So, this article is all about How to Enable Tabs in your Command Prompt Window. I hope this article helped you! Share it with your friends also.

