Last Updated on September 28, 2020 by Larious
Let’s admit; we often came across a site that doesn’t load on our computer, even though the site works fine on other devices. This thing happens mainly due to DNS problems. However, before knowing about the DNS problems, you need to know about the DNS Cache.
Table of Contents
What is DNS Cache?
Most operating systems were set to cache the IP Address and other DNS records automatically. This thing is done to speed up the connection between the IP Address and the webserver. This cache is what we call ‘DNS Cache’
So, DNS Cache is a type of record that is maintained by the operating system. Sometimes the DNS cache becomes outdated or corrupted, leading to various DNS errors & connectivity issues.
To deal with DNS cache problems, one needs to flush the DNS cache on the operating system manually.
Steps to Flush DNS Cache in Windows:
If you are using a Windows operating system, then you can easily flush the DNS Cache. To flush & rebuild the DNS cache in Windows 10 operating system, follow the simple steps given below.
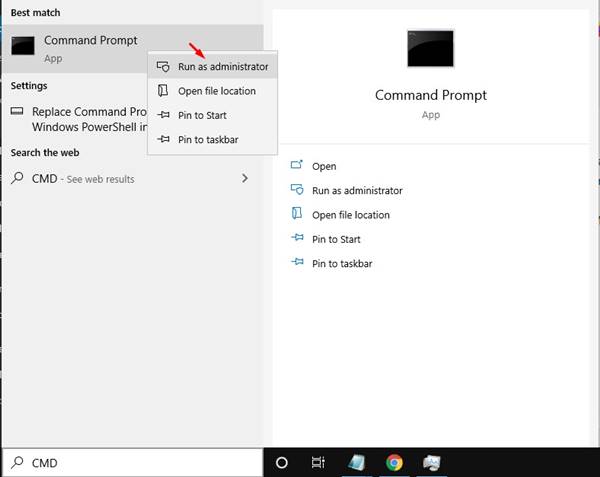
Step 1. First of all, open the start menu and search for CMD. Right-click on the CMD and select ‘Run as administrator’
Step 2. This will open an elevated Command Prompt with administrative rights.
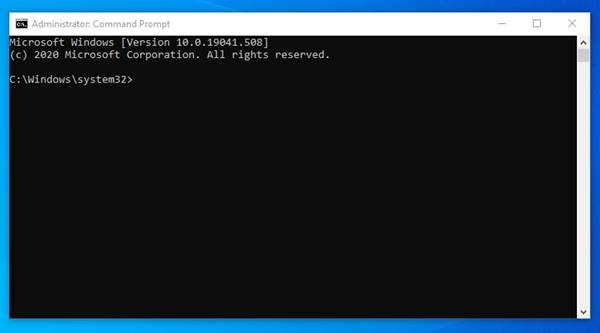

Step 3. On the Command Prompt, enter the command – ipconfig /flushdns
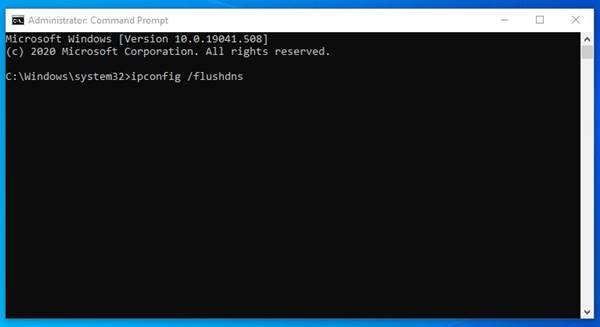

Step 4. Wait for few seconds until you get the success message.
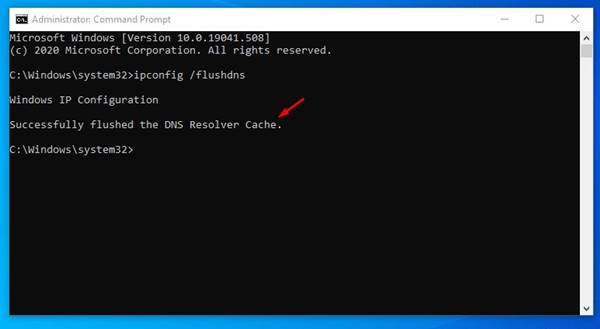

Step 5. To exit the command prompt, type in ‘exit’ and hit the Enter button.
That’s it! You are done. Now restart the computer to apply the changes.
Steps to Flush DNS Cache in macOS:
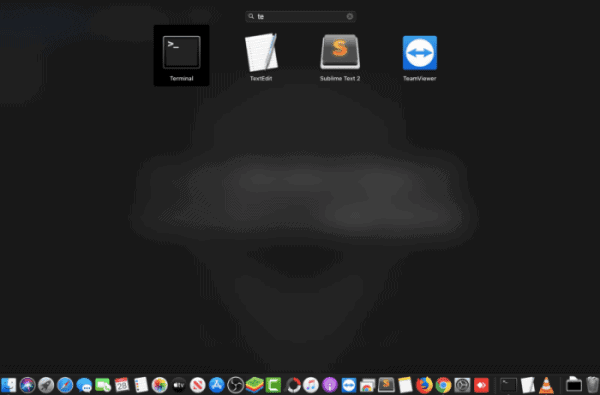
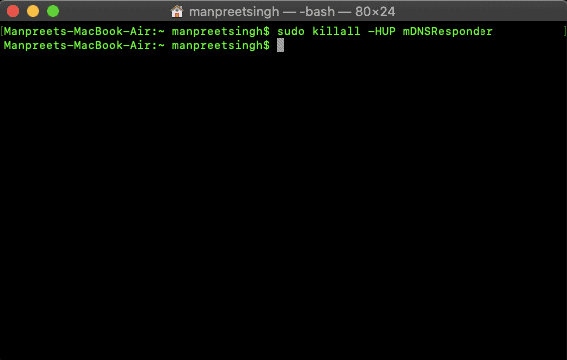
Well, macOS has different commands for each of its versions. To clear the DNS cache in macOS, you need to launch the Terminal and execute the command. To launch a terminal, head to the Applications > Utilities > Terminal.
On the Terminal, you need to execute the commands based on the version you have.
-
MacOS 10.10.4 and above:
sudo killall -HUP mDNSResponder -
For macOS 10.10.1, 10.10.2, and 10.10.3:
sudo discoveryutil mdnsflushcache -
MacOS 10.7, 10.8, and 10.9:
sudo killall -HUP mDNSResponder -
MacOS 10.5 and 10.6:
sudo dscacheutil -flushcache
Once done, make sure to restart your Mac device. After the restart, MacOS will rebuild the DNS Cache.
Steps to Flush the DNS Cache in Linux:
The process to flush DNS cache in Linux is a bit different from Windows & Mac. This is because each of the Linux distros uses different DNS services.
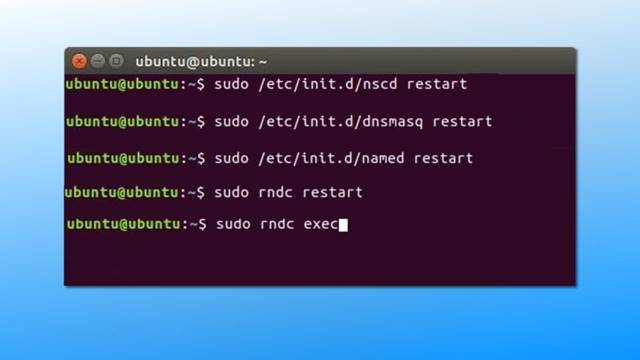

So, depending on the packages of your system, you need to execute the corresponding commands
Flush BIND Server DNS Cache:
sudo /etc/init.d/named restart
OR
rndc restart
Clear NSCD DNS Cache
sudo /etc/init.d/nscd restart
ORservice nscd reload
Flush DNSMASQ DNS Cache
sudo /etc/init.d/dnsmasq restart
OR
service dnsmasq restart
So, this article is all about how you can clear the DNS cache in Windows, Mac, and Linux operating systems. If you have any doubts related to this, let us know in the comment box below. I hope this article helped you! Please share it with your friends also.

