Last Updated on May 30, 2020 by Larious
Let’s admit! Nothing is safe in this digital world. Every other day, we get to know about new security threats. Security threats could be anything like Virus, Malware, Spyware, Adware, etc. These threats could bypass your antivirus solution and can enter your computer in no-time.
Let’s take an example of a rootkit. A rootkit is a type of malware that can hide itself from your Antivirus solution. So, sometimes, running an antivirus within Windows may not be enough to remove the threat. This is where the Rescue USB drive comes into the play.
Rescue USB drives are bootable antivirus solutions that clean malware from outside the infected Windows system. You just need to boot your computer from a USB drive containing the antivirus to get rid of malware, viruses, rootkits, etc.
Table of Contents
How To Remove All Viruses From Computer Using Rescue USB Disk
In this article, we are going to share a few best methods to create a bootable USB of antivirus. So have a look at the complete steps discussed below.
Steps To Create A Rescue USB To Free Up System From Viruses
Step 1. First of all, connect a removable USB device to your computer.


Step 2. Now you need, to download the ISO image of Kaspersky Rescue Disk.
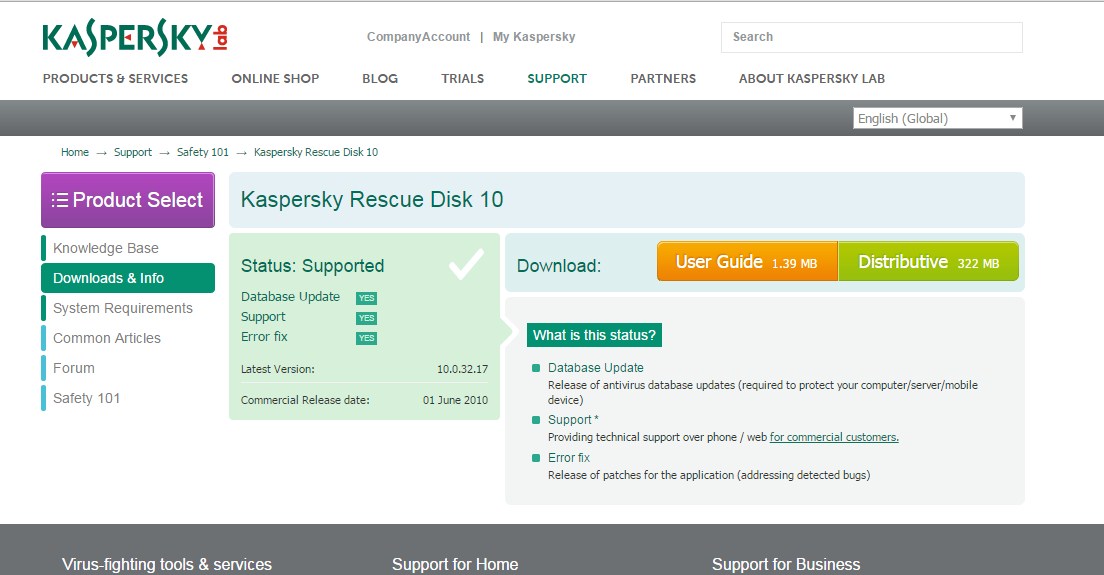

Step 3. Now follow the instructions given by Kaspersky to create a USB bootable Rescue disk.
Step 6. Now Restart the computer with USB inserted and press F11 when the computer started to boot your USB.


Step 7. Now Kaspersky interface will appear, proceed till you find the option to select from Graphic mode or Text mode, select the graphic mode.


Step 8. Once Graphical User Interface fully loads onto the screen, you can perform a scan and remove all detected threats.


That’s it! You are done. This is how you can use Kaspersky Rescue Disk to remove all viruses from Windows 10 computer.
Using Avira Rescue CD
Avira is one of the popular software company which is known for its free and premium security products. The software vendor also comes with a rescue system that scans and repairs the computer that fails to boot. You need to download Avira Rescue System and then burn it on CD/DVD or USB drive to make it a bootable USB disk.
Step 1. First of all, download the latest version of Avira Rescue CD on your Windows 10 computer. You can get the download link from here.
Step 2. In the next step, install the Rescue CD. Once done, open it and you need to burn the image to a disk. Simply, insert a disk into the drive and click on ‘Burn CD’


Step 3. Once done, restart your computer and then you will see an interface like below. Here you need to select the option ‘Boot Antivir Rescue System’. If you don’t take any action, it will automatically boot the Avira Rescue CD


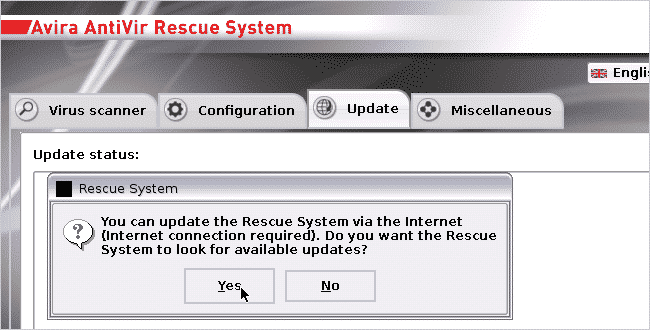
Step 4. Now head to the Update tab and then click on ‘Yes’ when it asks to update the Rescue system via the internet.

Step 5. Now, go the Virus Scanner tab and then click on the ‘Start Scanner’ button. Now, wait until the Avira Antivirus Rescue System scans and removes the infection from the computer.
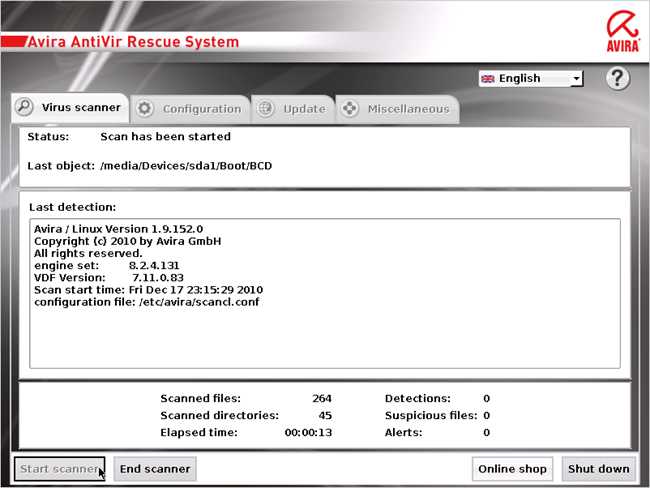

That’s it, you are done! This is how you can use Avira Antivirus Rescue System to remove all viruses.
Best Bootable Antivirus Rescue Disks
Well, just like the above two, there are lots of other tools available on the way that serves for the same purpose. You can make a bootable CD/DVD or USB from these tools to boot your Windows computer.
1. Hitman Pro


It is one of the best antivirus and malware scanner tools that you should consider. However, you need to have a HitmanPro license in order to create a Bootable disk. The great thing about HitmanPro Kickstart is that it’s just 10MB in size and you can easily make a bootable USB disk using Hitman Pro.
2. Norton Bootable Recovery Tool
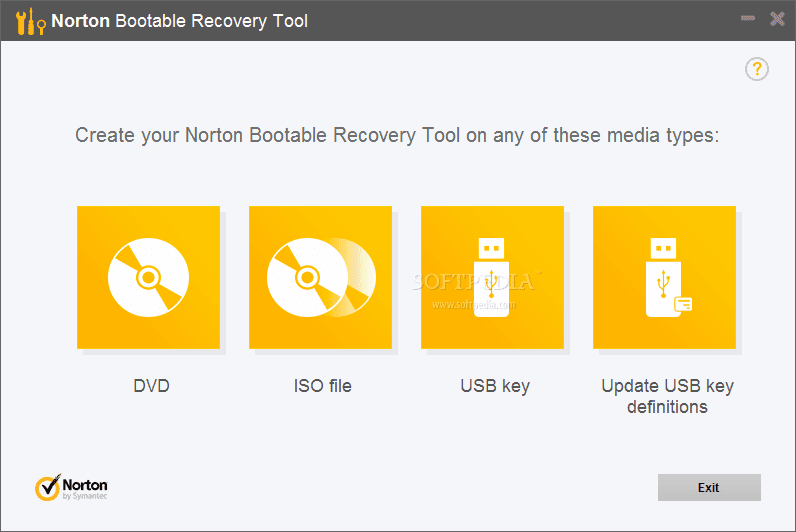

Well, Norton Bootable Recovery Tool is another popular tool that scans and eliminates viruses even if the computer fails to boot. Norton provides an ISO file which you can use to create bootable USB, CD/DV disk. The best thing about the tool is it’s available for free, and you just need to enter the license key of any Norton Product. Even if you don’t use any products of Norton, you can just sign up for the beta program to get the Norton Key.
3. ESET SysRescue Live


It is another best Bootable Antivirus Rescue disk which is extremely easy to use. The great thing about ESET SysRescue Live is that it has a graphical user interface and it provides users a wide range of customization options to scan the system. For example, with ESET SysRescue Live you can either scan any specific file or folder or can deep scan a quick scan. It’s one of the powerful Antivirus rescue disks which you can use today.
4. Trend Micro Rescue Disk


Unlike all other Antivirus rescue disk, Trend Micro Rescue Disk is a little bit complicated because it provides users very little options to customize the scan. Yes, you can either select from Quick Scan and deep scan to remove viruses from a computer. So, Trend Micro Rescue Disk is another best bootable Antivirus Rescue Disk which you can consider.
5. AVG Rescue CD


Well, if you are searching for an easy to use bootable Antivirus rescue disk, then AVG Rescue CD might be the best pick for you. The great thing about AVG Rescue CD is that it allows users to customize the scanning options. Not just that, but users can also run a heuristic antivirus scan with AVG Rescue CD. So, AVG Rescue CD is another best choice that you can consider.
6. F-Secure Rescue CD
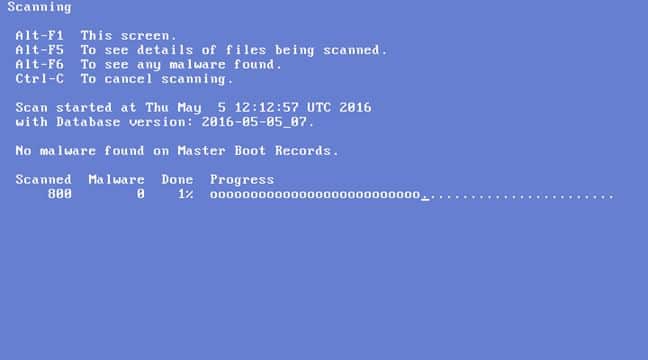

Well, F-Secure Rescue CD is another best and easy to use Antivirus rescue disk that you can use right now. F-Secure Rescue CD doesn’t have any user interface, it just shows users a text-based dialog to select whether to start an antivirus scan or not. If users choose to run an antivirus scan, F-Secure Rescue CD automatically starts downloading the required updates.
7. Avast Rescue Disk
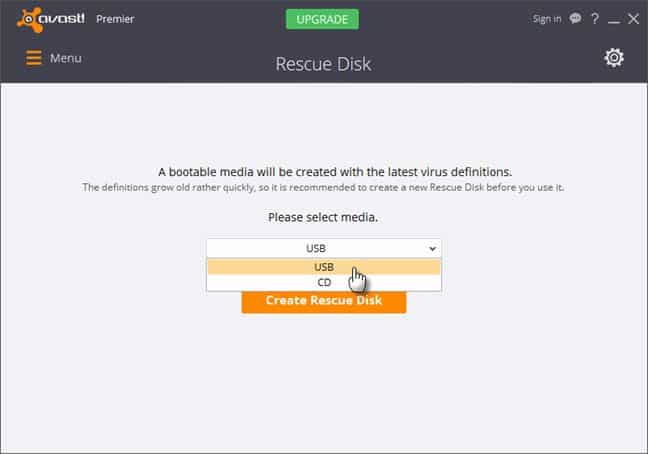

It is another best tool that you can use to remove all viruses from PC. Unlike all other bootable antivirus rescue disk, Avast Rescue Disk doesn’t have a standalone ISO file to download. Instead, it allows users to create an Antivirus rescue disk within the security software. What’s more interesting is that the option to create Avast Rescue Disk is available even on the free version of Avast.
So above is all about how to remove all viruses from PC using rescue USB disk. I hope this article helped you! Share it with your friends also.

