Last Updated on April 17, 2022 by Larious

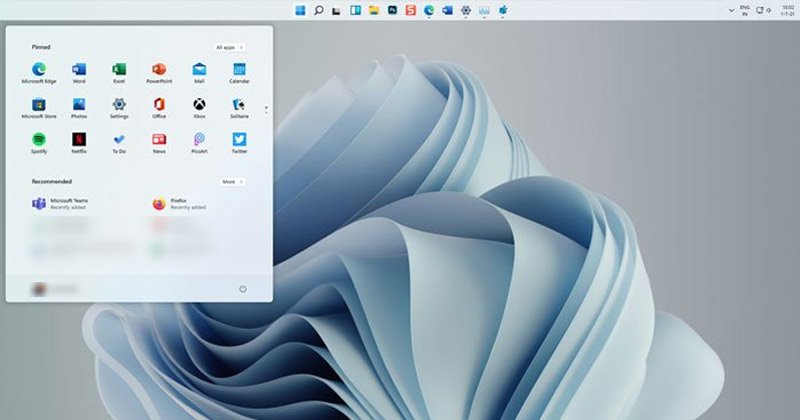
There are many new improvements in Windows 11, including a new taskbar with a center alignment for the Start menu and app buttons and a new notification area. In addition, there are new effects and animations, new file explorer icons, and rounded corners.
Although Microsoft introduced many new changes to the Windows 11, it has also removed some of the legacy features; one such feature is the ability to move the Taskbar. Actually, Microsoft has revoked the ability for users to move the taskbar to the left, right, or top of the screen.
The reason behind doing so is pretty obvious; there was not enough demand for it. However, if you are among those who like to assign the taskbar to another location to improve its accessibility, you might still look for ways to move the taskbar around.
Although there’s no direct option to move Taskbar to top, left, or right on Windows 11, you can still move it by editing the Registry file.
Steps to Move Taskbar to Top, Left, or Right on Windows 11
Hence, if you are interested in moving Taskbar to the top or right on Windows 11, you are reading the right guide. In this article, we will share a step-by-step guide on how to move Taskbar around on Windows 11. Let’s check out.
1. First of all, click on the Windows 11 search and type in Regedit. Next, open the Registry Editor from the list of all apps available.


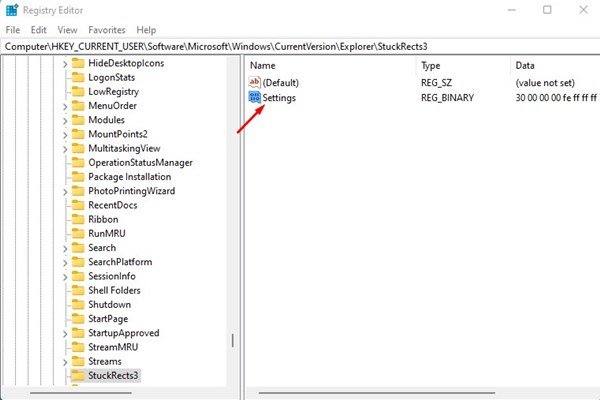
2. On the Registry Editor, navigate to the following path:
HKEY_CURRENT_USERSoftwareMicrosoftWindowsCurrentVersionExplorerStuckRects3


3. On the Right pane, double click on the Settings Binary Key as shown in the screenshot below.


4. Now, you need to look at the FE column as displayed below.


5. If you wish to move the Taskbar to the top, click on the 03 value, press the Delete key, and replace the value with 01. Once done, click on the Ok button.


6. If you wish to move the Taskbar to the right side of the screen, replace the 03 value with 02. Once done, click on the Ok button.


7. If you wish to move the Taskbar to the left side of the screen, replace the 03 value with 00. Once done, click on the Ok button.


8. If you wish to reset the settings, change the value to 03. This will move the taskbar to the bottom of the screen.


9. Once done, close the Registry Editor and open the Task Manager.


10. On the Task Manager, switch to the Processes tab and select the Windows Explorer process. Next, click on the Restart button as shown below.


That’s it! You are done. This is how you can move Taskbar to the top or side on Windows 11.
It’s pretty easy to move Taskbar to the top or side on Windows 11. I hope this article helped you! Please share it with your friends also. If you have any doubts related to this, let us know in the comment box below.

