

Last Updated on October 8, 2026 by Larious
DirectX is a series of application programming interfaces (API) that allows games to talk to video cards. It’s an essential program as it optimizes your gaming and multimedia experience. If your Windows 11 PC doesn’t have the right version of DirectX installed, you might experience problems while running games. Not only games but also programs that rely on GPU won’t work properly.
So, if you have just installed Windows 11 and are facing problems while running graphics-heavy applications or games, you might have to update or reinstall DirectX. Below, we have shared a step-by-step guide on downloading, installing, and uninstalling DirectX on Windows 11.
Table of Contents
1. Find the version of DirectX installed on Windows 11
Before downloading DirectX, you first need to check the version of DirectX installed on your Windows 11.
1. Press the Windows Key + R on your keyboard. This will open the RUN dialog box.
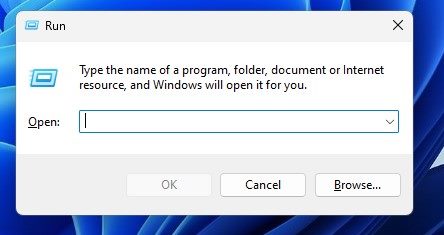
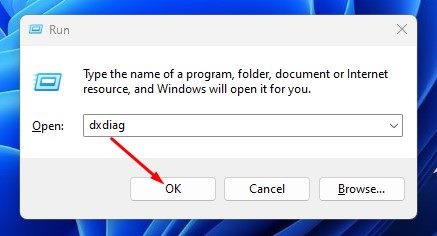
2. On the RUN dialog box, enter dxdiag and press Enter.
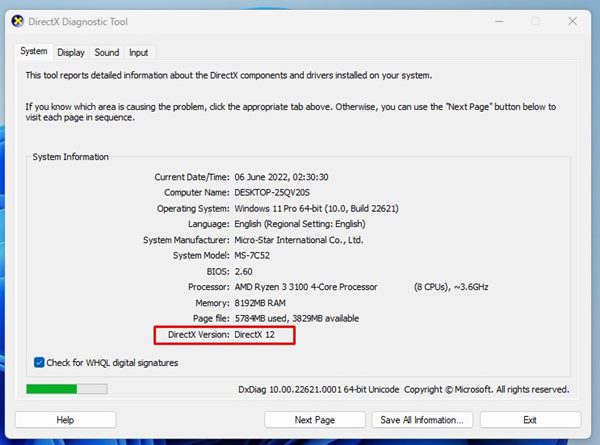
3. This will open the DirectX Diagnostic Tool. You need to check the DirectX version at the bottom.
2. Download & Install the latest version of DirectX
DirectX 12 is the latest version of DirectX available for the Windows operating system. If your PC is compatible with DirectX 12, you can download & install it manually.
1. Open your favorite web browser and open this DirectX download page.
2. Scroll down and select your language. Once done, click on Download.
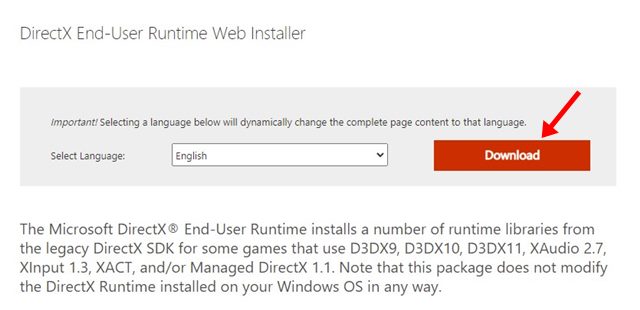
3. This will download DirectX 12 to your PC.
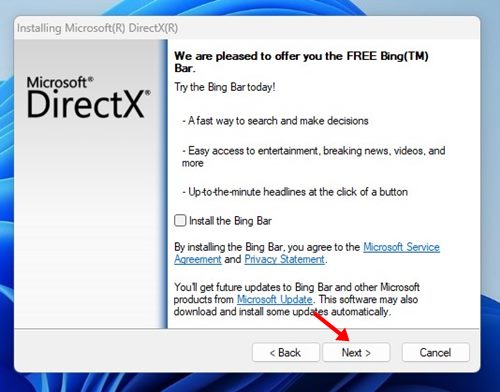
4. Open the DirectX 12 executable file and follow the on-screen instructions to complete the installation.
3. How to Uninstall DirectX on Windows 11
If you are experiencing more problems after installing the latest version of DirectX, you need to roll back to an older version.
Since Microsoft doesn’t allow users to uninstall DirectX completely, you need to roll back from a newer version to an older version. To roll back the DirectX version, you need to restart your PC to a previous point.
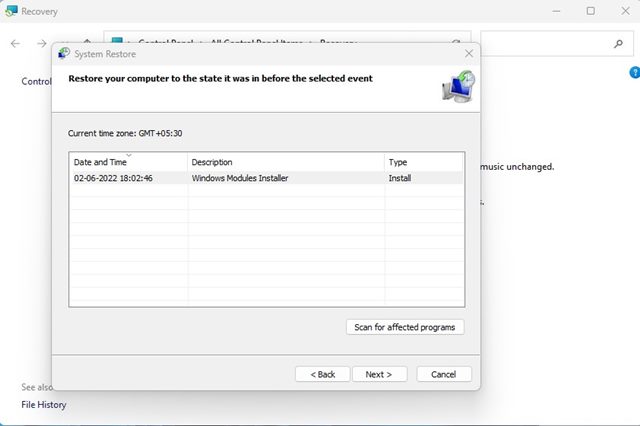
This is only possible if you have set up Automatic Restore Points on your Windows 11 computer. If your PC doesn’t have any restore point, you need to reinstall the operating system.
DirectX on Windows 11 is designed to update automatically through Windows Update. So, this guide is all about how to download & install the latest version of DirectX on Windows 11. If you have any doubts related to DirectX on Windows 11, let us know in the comments.

