Last Updated on October 5, 2020 by Larious
Well, capturing screenshots is easy on Windows operating system. You can either use third-party screenshot tools or native Windows Print Screen feature to capture a screenshot. However, what if you want to capture animated GIF screenshots?
The sniping tool or Print Scr function doesn’t allow you to capture animated GIF screenshots. You need to use third-party apps to capture Animated GIF screenshots on Windows 10.
Table of Contents
Capture Animated GIF Screenshots In Windows
Therefore, in this article, we have decided to share a few best working methods to capture animated screenshots in Windows 10 computers. So, let’s check out.
1. Gyazo
This is one of the best tools that will allow you to capture the screen in a gif format. The best part is by using this tool; you can easily capture the screen in a particular rectangular area. Follow the below steps to use this tool.
Step 1. First of all, download and install the Gyazo in your Windows PC.
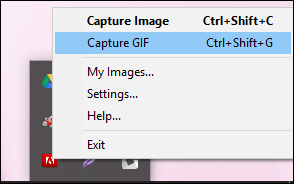
Step 2. Now after installing the app, click on the icon in the taskbar. Now there you have to select Capture gif or you can also use shortcut keys – CTRL+SHIFT+G
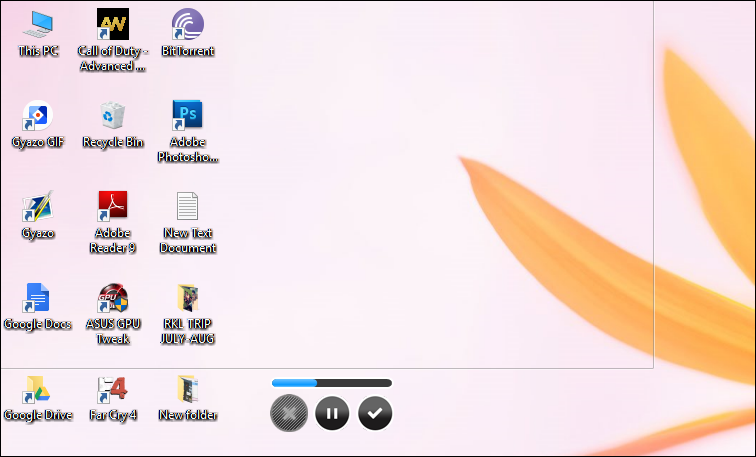
Step 2. Now a rectangular box will appear in which you have to select the area that you want to record, simply set it according to your wish.
That’s it! You are done, now the capturing will start and when the screenshot is captured, it will get automatically get uploaded to their server, and it will give you the link to your animated gif that you can easily use anywhere.
2. ScreenToGIF
This is another best tool that you can use to capture animated screenshots This tool allows you to record a selected area of your screen and save it as a Gif. By using this tool, you can easily record your screen and save directly to a GIF animation.
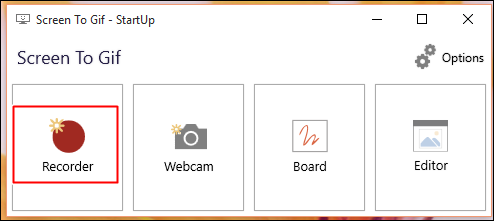
Step 1. Download ScreenToGIF and install it. After installing it, open it and click on the ‘Recorder’
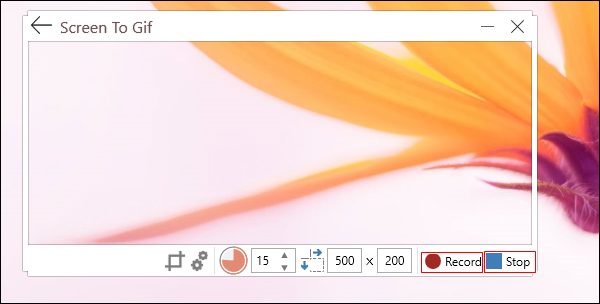
Step 2. You will see a window with a transparent body as shown below. Now you need to click on “Record”. Now, move the recording window to the part of the screen that you want to record.
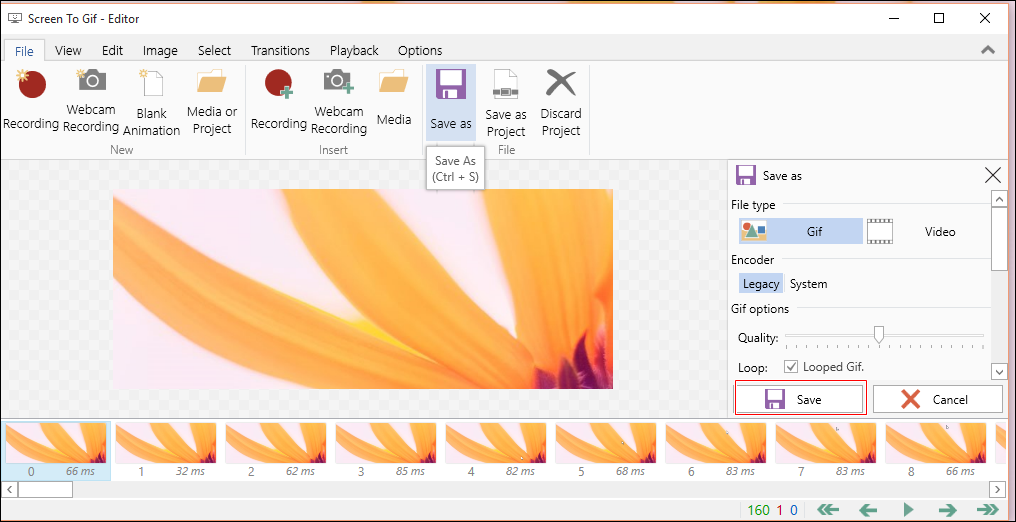
Step 3. Now the screen to GIF editor will pop up on your Windows screen. You can edit your GIF according to your wish. Once done, click on “Save As” to save on your computer.
So, that’s how you can use ScreenToGIF to capture animated GIF screenshots on Windows operating system.
3. LICEcap
LICEcap can capture an area of your desktop and save it directly to GIF. It’s an advanced tool, but very lightweight. The tool got the ability to save the recordings directly on .GIF or .LCF format. Here’s how to use LiceCap.
Step 1. First of all, download and install LICEcap on your Windows PC and run it.
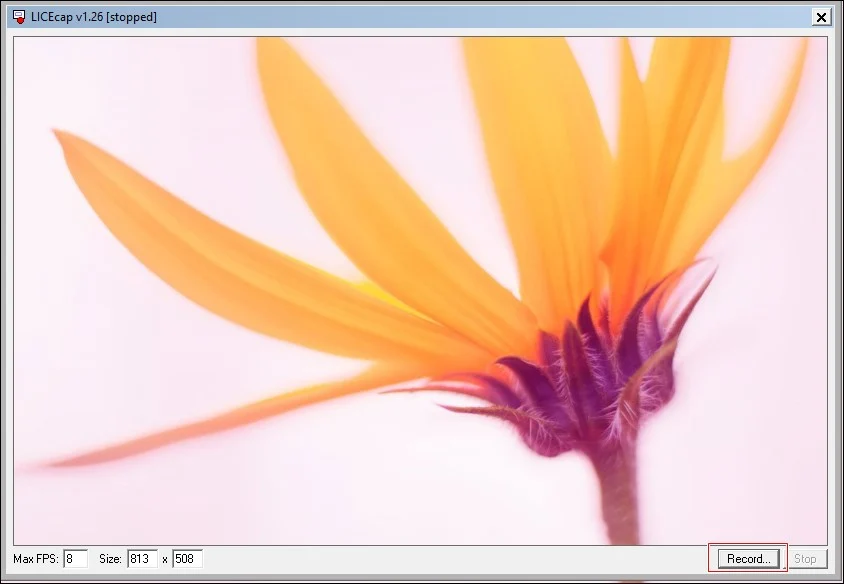
Step 2. You will see a window with a transparent body as shown below. You need to click on “Record” to record the screen
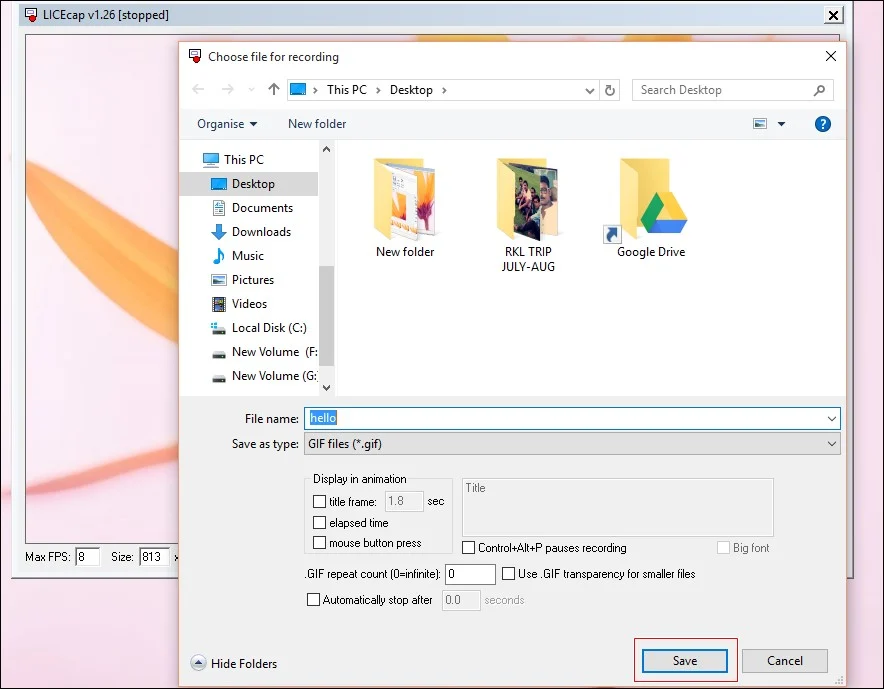
Step 3. Now you will be asked to select where the GIF you would like to save. Simply, select the folder and click on “Save”
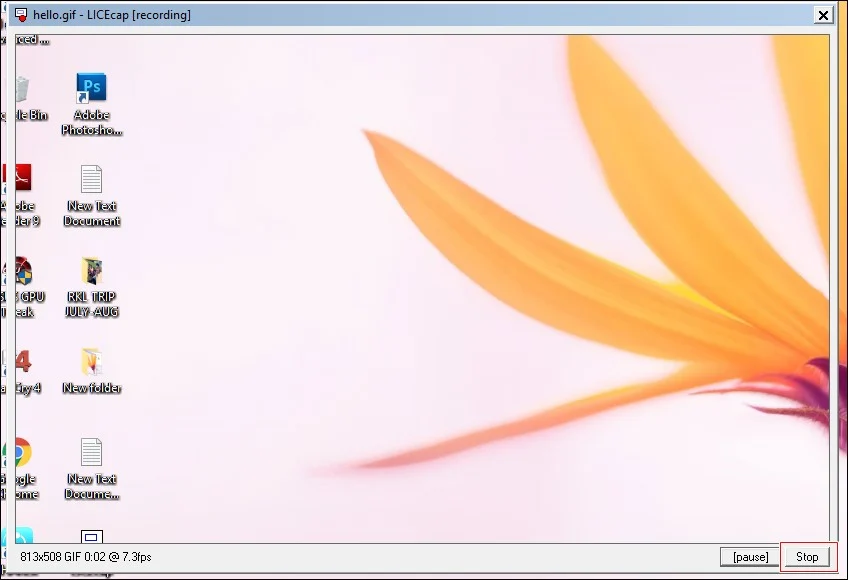
Step 4. Now you will see LICEcap transparent windows will start recording. You can pause the recording too. In order to complete the recordings, you need to click on the “Stop” button.
That’s it! You are done. This is how you can capture animated GIF screenshots on Windows by using LiceCap.
Using Recordit
Well, Recordit is a simple utility for Windows computers that will help you to turn your screen recording into an animated GIF. It records a screencast and then automatically uploads it to the cloud where you can share it with others or turn it into a gif with just a click.
Step 1. First of all, you need to download and install Recordit on your Windows computer.
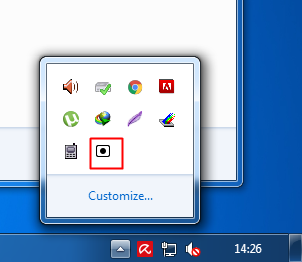
Step 2. Now click on the Recordit icon from your start menu or on the taskbar itself.
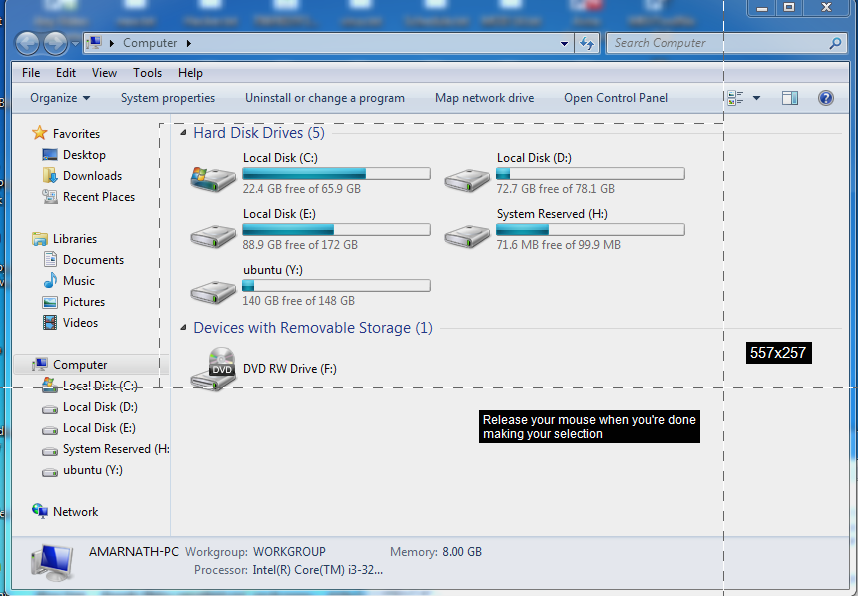
Step 3. Now you need to select the area that you want to record.
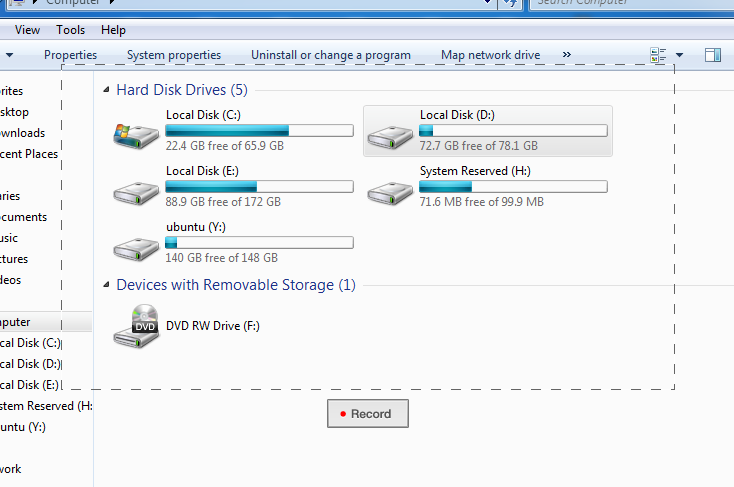
Step 4. After selecting the area that you want to record, you will see the “Record” option. Simply, click on that to start recording.
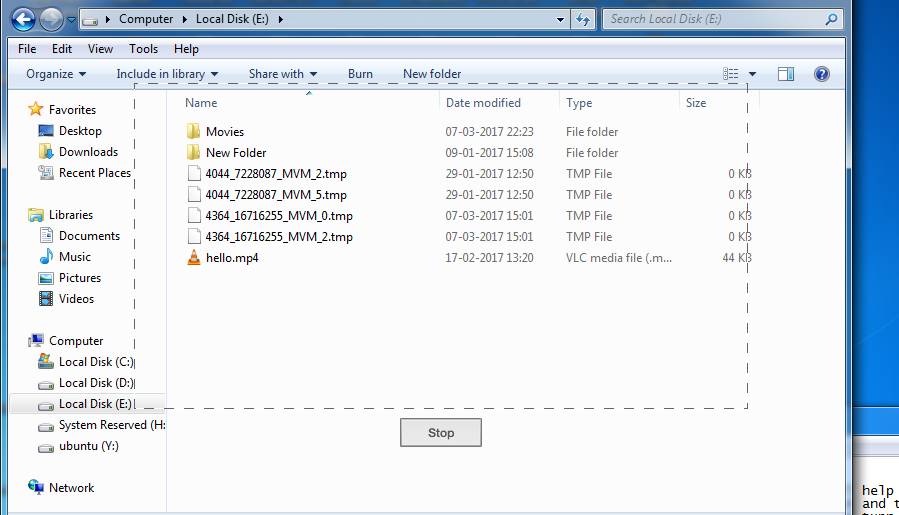
Step 5. Now to stop the recording, you need to click on the “Stop”
Step 6. Now your video will be uploading to their cloud server. Wait for some moment until it finishes the uploading.
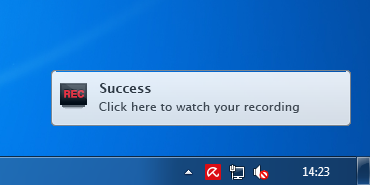
Step 7. Once uploaded, you will see the notification of “Success” now you need to click on that to watch the recording.
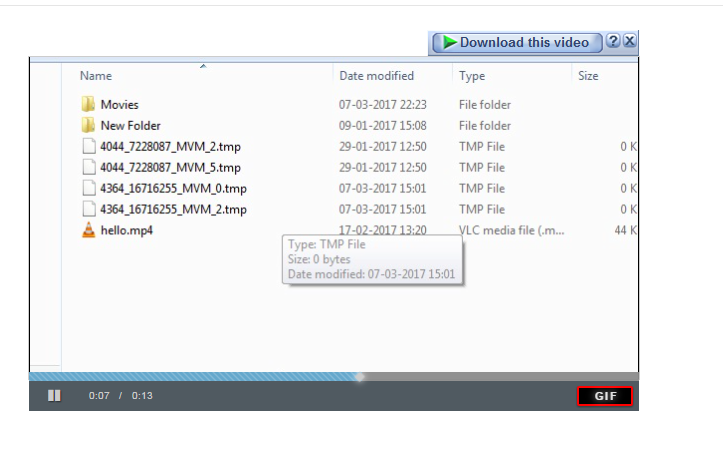
Step 8. Now on the redirected link, you need to click on “GIF”
That’s it! You are done, now you can share the gif with your friend directly.
Conclusion
So, this is how you can easily capture animated GIF screenshots in Windows operating system. I hope this article helped you! Please share it with your friends also. If you have any doubts related to this, let us know in the comment box below.

