Last Updated on May 19, 2023 by Larious
ChatGPT is already the most popular AI chatbot ever made, and the recent update from OpenAI has further leveled up ChatGPT’s functionality. ChatGPT is supposed to get much better in the coming future, and the first step was to introduce a web browsing feature.
Before the recent update, the only limitation that ChatGPT had was the inability to access the web results. The knowledge base of ChatGPT is limited to September 2021, making it less competent than other options in the AI Chatbot race, like Google Bard or Bing AI.
Table of Contents
ChatGPT Web Browsing & Plugins
ChatGPT has a web browsing feature that allows the AI chatbot to browse the web in real-time to find up-to-date information. It’s a huge update and is supposed to be a game-changer.
Internet access to ChatGPT means that the AI chatbot can now access the vast pool of information on the web and provide you with more insightful and accurate answers.
While the feature sounds interesting and useful, there’s a catch. The feature is not available to all ChatGPT users; as of now, only ChatGPT Plus users can access the new web browsing feature.
How is ChatGPT Web Browsing Different from Plugins?
Along with the ChatGPT Web Browsing, OpenAI also introduced Plugins. Now, how are they different? Well, ChatGPT Plugins are external tools that can fetch information not included in the training data of ChatGPT.
ChatGPT web browsing is very different. You get a web-powered ChatGPT search that searches the web and returns up-to-date information. As it searches the web, it shows the steps it takes to provide you with the information.
When you perform a ChatGPT search, it shows the steps it took to search the web results, the clicks it made, and the process the chatbot followed to provide you with the information.
How to Enable and Use ChatGPT Beta Web Browsing?
Now that you know the ChatGPT Web Browsing feature and how it works, let’s know how to enable and use it.
1. Subscribe to ChatGPT Plus
The very first step includes subscribing to ChatGPT Plus. The ChatGPT Plus subscription costs around $20 per month, and you get to enjoy the experimental features and faster responses. Here’s how to subscribe to ChatGPT Plus.
1. Open your favorite web browser and visit this webpage.
2. When the webpage opens, click the ‘Log in‘ button and log in with your ChatGPT account.
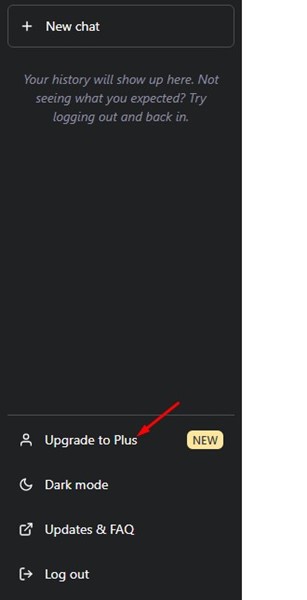
3. On the right side, click the ‘Upgrade to Plus‘ button.
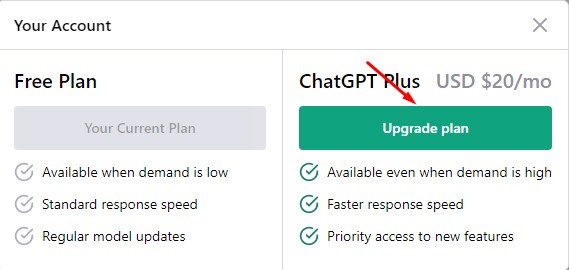
4. Next, on the Your Account screen, click on the ‘Upgrade Plan‘ underneath ChatGPT Plus.
5. On the Subscribe to ChatGPT Plus subscription screen, enter your payment and billing details to subscribe to ChatGPT Plus.

That’s it! Now you will be billed $20 for a month of ChatGPT Plus subscription.
2. Enable Web Browsing on ChatGPT
After subscribing to ChatGPT Plus, your account is ready to enable the Web Browsing feature. Here’s how to enable web browsing on ChatGPT.
1. Open chat.openai.com and sign in with your ChatGPT account.
2. On the right side, click on the three dots beside your profile picture and select ‘Settings‘.

3. Next, on the Settings screen, switch to the Beta features.
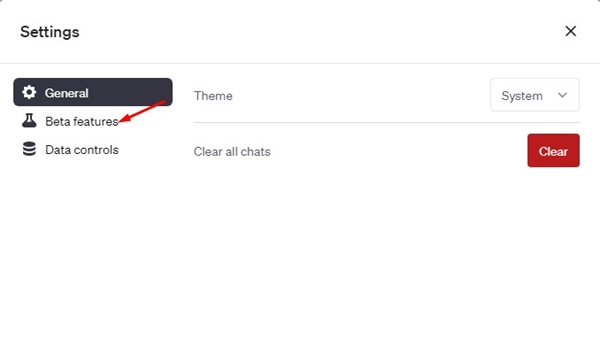
4. Enable the toggle for ‘Web browsing‘ on the right side.

That’s it! This will enable Web browsing on ChatGPT. Now ChatGPT can browse the internet to answer questions about recent topics and events.
3. How to Use ChatGPT Web Browsing?
1. Open ChatGPT and move to the main screen. Hover your mouse over GPT-4 drop-down and select ‘Browsing Beta‘

2. Now click on the Message field and type a prompt. Try asking questions about recent topics and events.
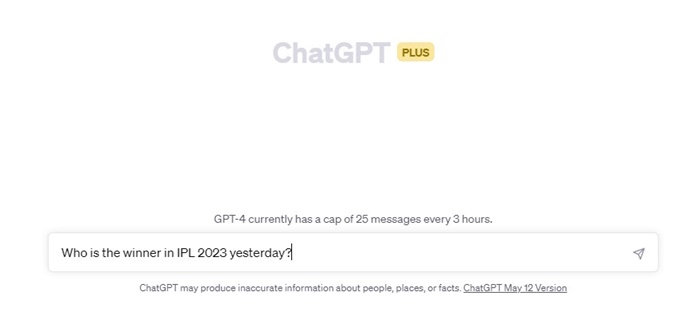
3. Now, wait a few seconds for ChatGPT Plus to fetch the web. Meanwhile, you can check what the AI chatbot is doing. You can see the clicks, page jumps, etc.

4. When the chatbot returns with an answer, click on the drop-down button to see what it had done to deliver the answer.
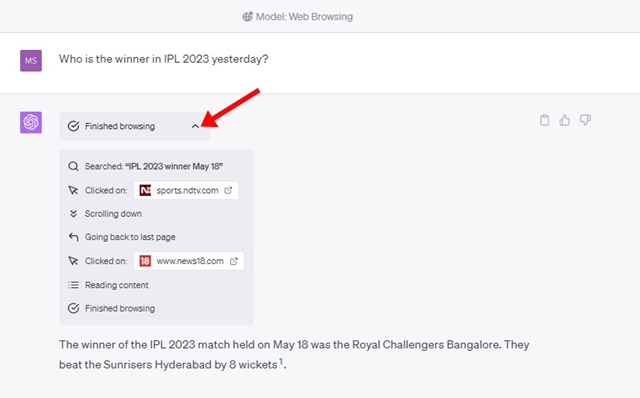
That’s it! This is how you can use the Web browsing feature on ChatGPT Plus.
Also Read: How to Enable ChatGPT Plugins and Use it?
So, that’s all about how to enable and use the ChatGPT web browsing feature. This is a great feature but is very slow. The feature takes around 15-20 seconds to return with a response, and most of us don’t have the patience to wait for that long. The better option is to stick with Google or Bing search for faster and more accurate results.
