

Last Updated on July 23, 2026 by Larious
There may be times when you can’t uninstall a program from the Control Panel. This can happen for several reasons, such as corrupted uninstall files, missing installation data, or permission issues. In such cases, you should try uninstalling those programs from either CMD or PowerShell.
Depending on how the program was installed, CMD/PowerShell may help remove software that can’t be uninstalled through the Control Panel. Below, we have shared the steps to remove programs from CMD and PowerShell on Windows 11.
Table of Contents
1. Remove Programs from CMD
In this method, we will remove a specific software via CMD on Windows 11. Here’s what you need to do.
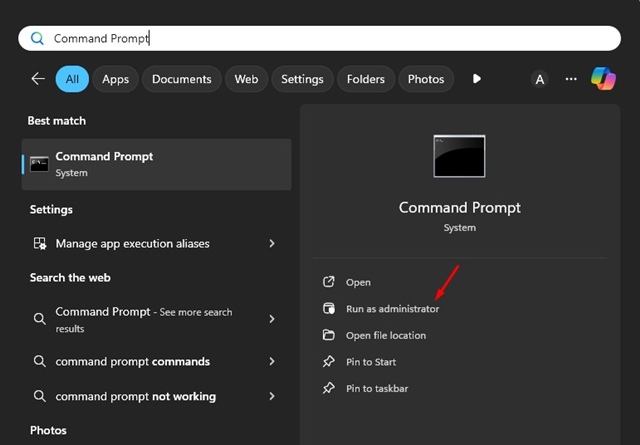
1. Launch Command Prompt with Admin rights (Right click on CMD and select Run as administrator).
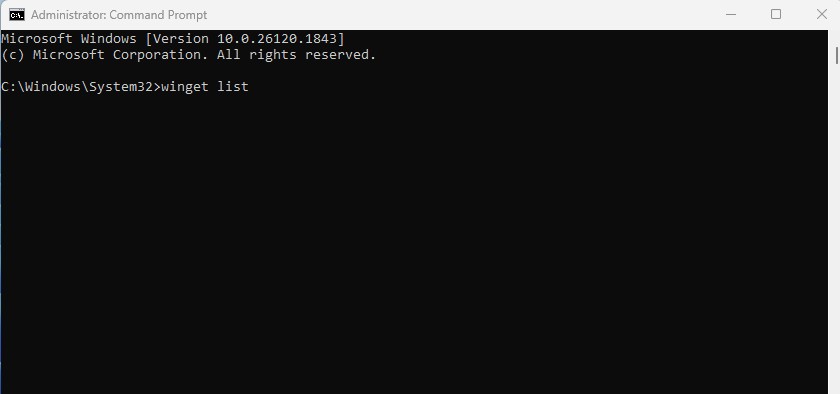
2. When the command prompt opens, type this command and press Enter.
winget list
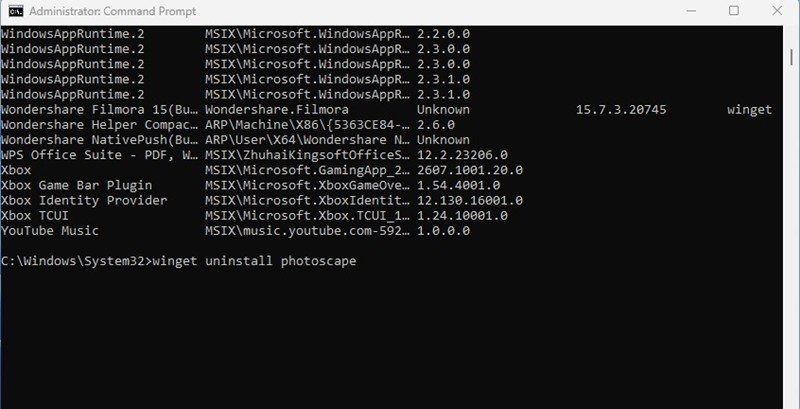
3. The above command will list all applications installed on your PC. You need to note down the application name that you want to uninstall.
4. To uninstall an application, use the following command:
winget uninstall <software_name>
For example: winget uninstall Google Chrome
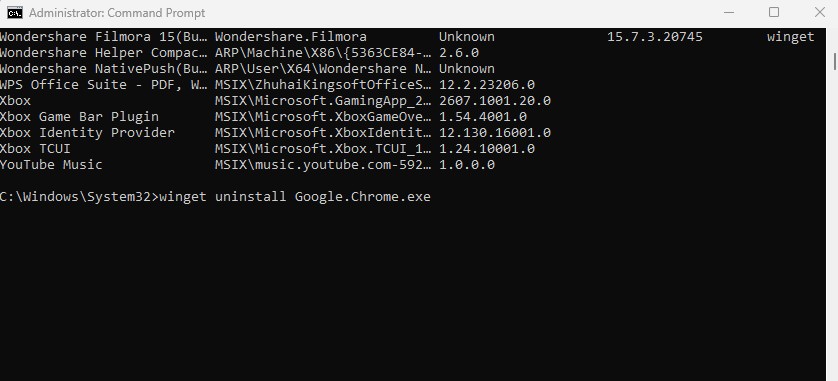
5. You can also use the ID if the names have special characters like:
winget uninstall Google.Chrome
The program will be uninstalled from your computer. You won’t find the program in your computer or control panel.
2. Remove Programs on Windows 11 via PowerShell
The steps to remove a program on Windows 11 via PowerShell are a bit different. Here’s what you need to do.
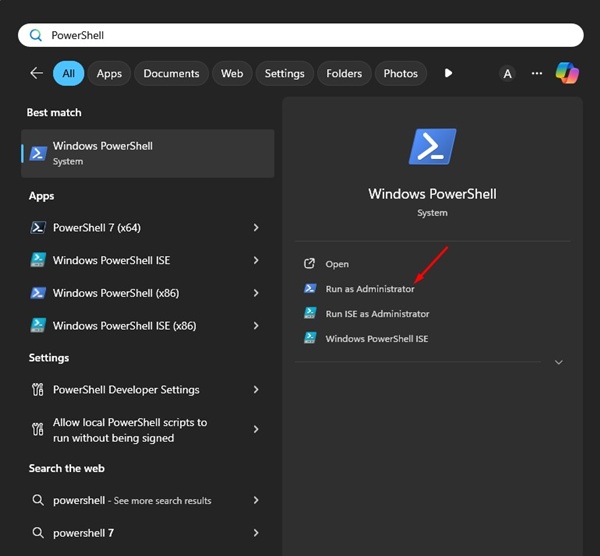
1. Launch Windows PowerShell with admin rights (Right click on PowerShell and select Run as administrator).
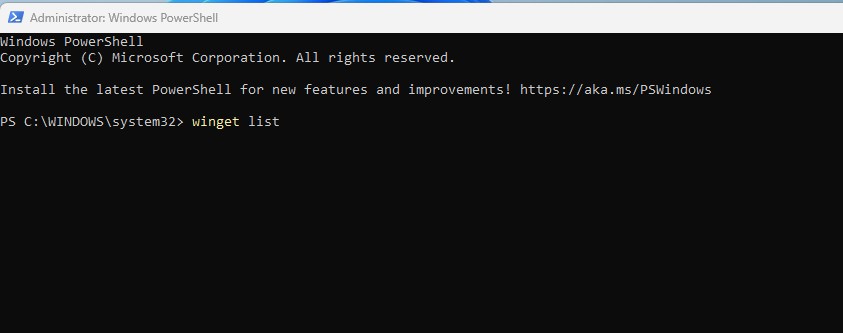
2. When the PowerShell utility opens, enter this command:
winget list
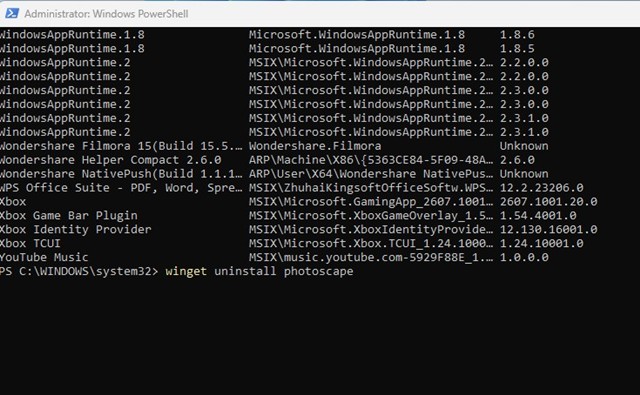
3. Note down the Program name you want to uninstall and then enter this command:
winget uninstall “Program Name”
Replace “Program name” with the actual program name you want to uninstall.
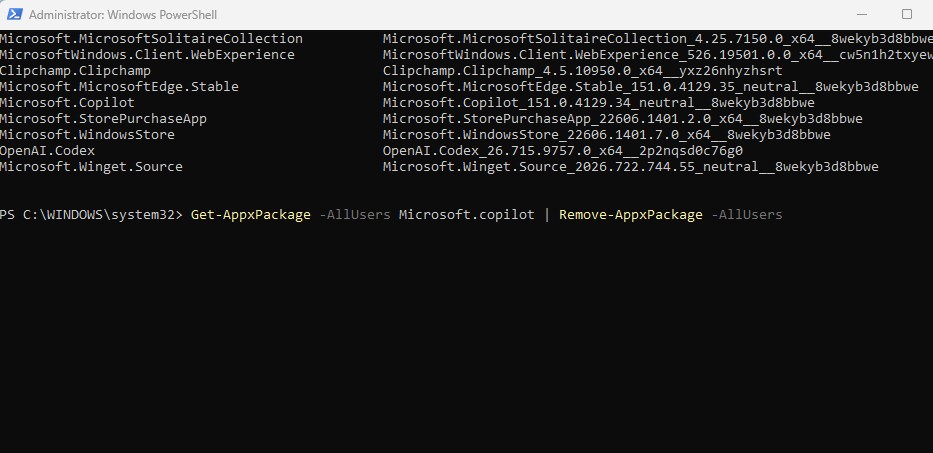
4. To remove the Windows Store apps, you need to find the exact package name first. Execute this command.
Get-AppxPackage -AllUsers | Select-Object Name, PackageFullName | Format-Table
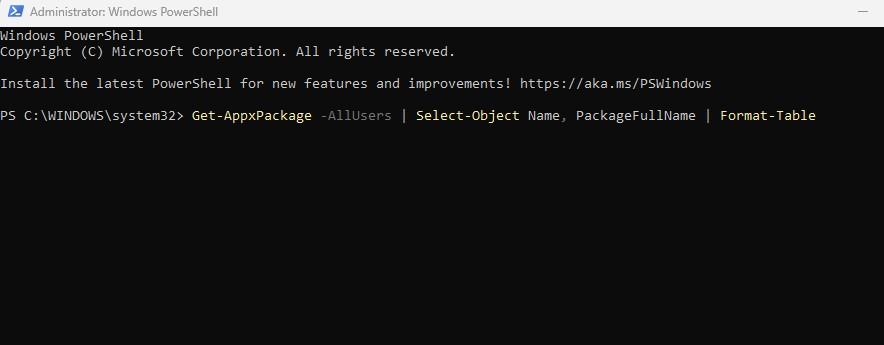
Note down the name of the Store app that you want to uninstall.
5. To remove the app, execute this command:
Get-AppxPackage -AllUsers *appName* | Remove-AppxPackage -AllUsers
Replace “appName” with the exact package name.
These are the two best ways to remove a program on Windows 11 from the command line utilities. If you need more help on this topic, let us know in the comments. Also, if you find this article helpful, share it with your friends.

