

Last Updated on October 6, 2026 by Larious
Even though Windows 11 provides various ways to resolve hard disk drive errors, sometimes nothing seems to work. In such a situation, we only have one option: Formatting the HDD/SSD drive. Apart from drive errors, you may want to format your hard drive or SSD for other reasons.
Windows 11 provides you with several ways to format your connected storage drives. Here are some of them.
Table of Contents
1. Format Hard Drive/SSD via File Explorer
This method will use the File Explorer of Windows 11 to format a storage drive.
1. First, open File Explorer on your Windows 11 computer.
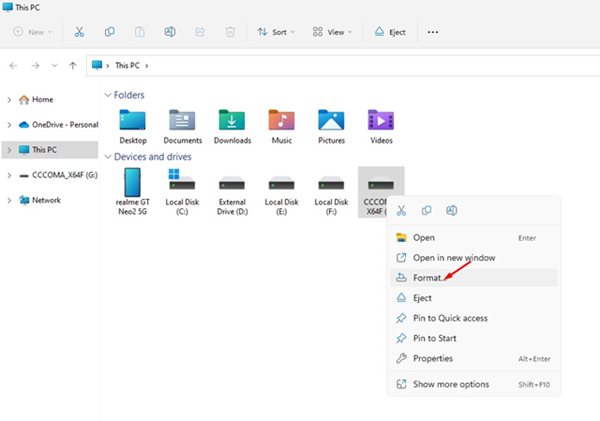
2. Now, right-click on the hard drive or SSD you want to format and select Format.
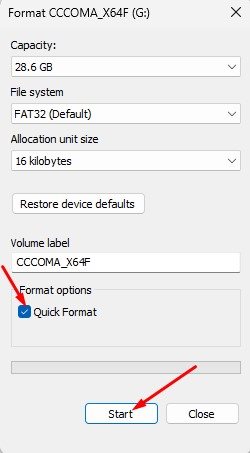
3. On the Format prompt, check the Quick Format checkbox and click Start.
2. Format a Hard Drive or SSD via Settings
You can also use the Settings app to format your hard drive or SSD.
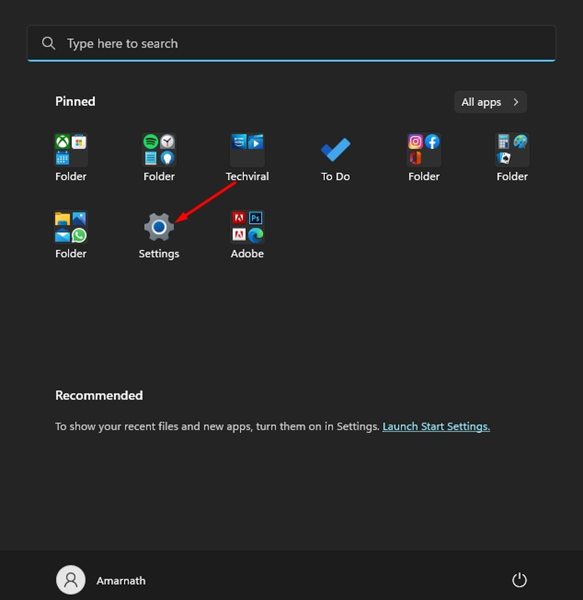
1. Click on the Windows 11 Start button and select Settings.
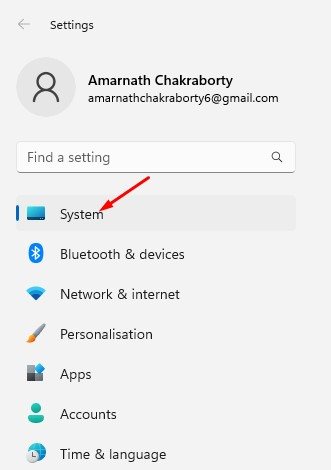
2. In the Settings app, click on the System tab.
3. On the right pane, scroll down and click on Storage.
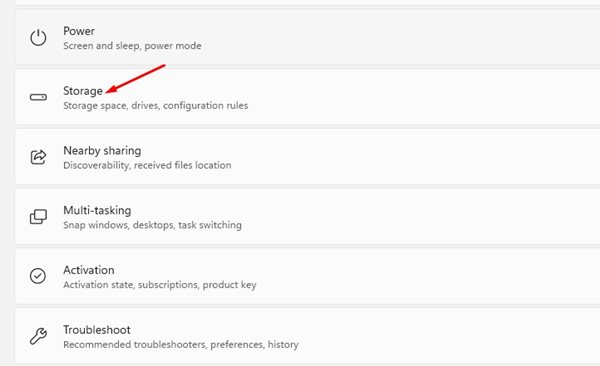
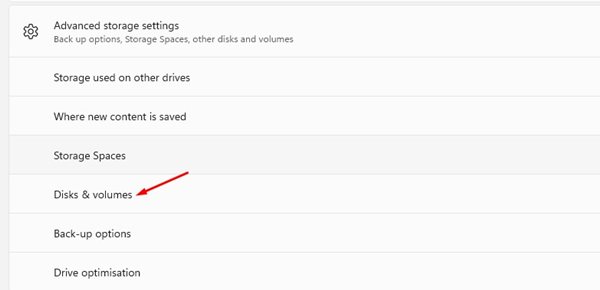
4. In Storage, expand the Advanced Storage settings and click on Disks & volumes.
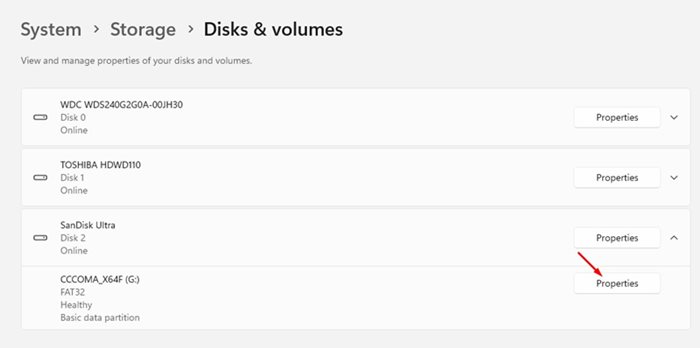
5. Select the HDD/SSD partition you want to format and select Properties.
6. On the next screen, click on the Format option.
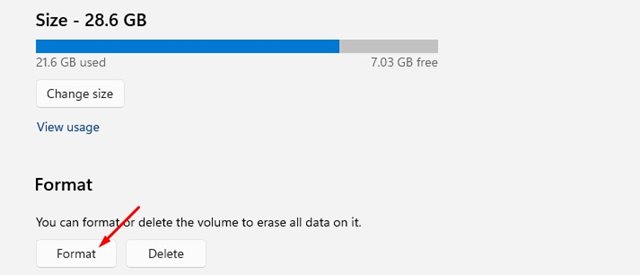
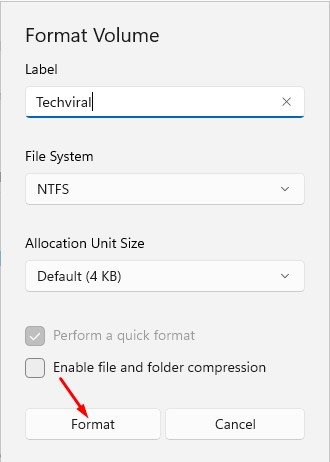
7. Now, on the Format Volume prompt, click on the Format option.
3. Format HDD/SSD on Windows 11 via Command Prompt
Like the Settings app, you can format your storage devices using the Command Prompt utility.
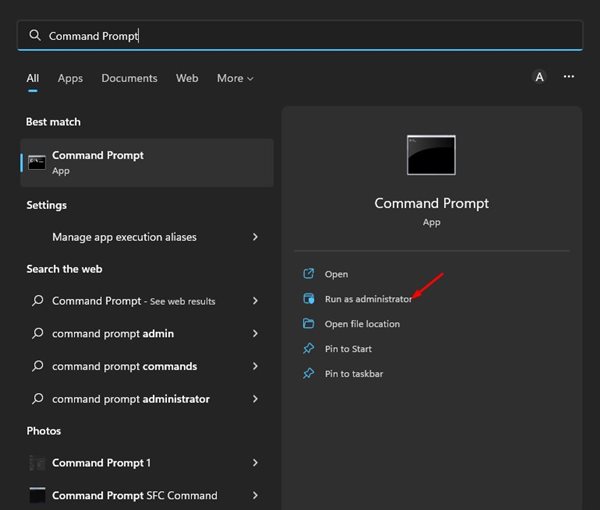
1. Click on the Windows 11 Search and type in CMD. Next, right-click on CMD and select Run as administrator.
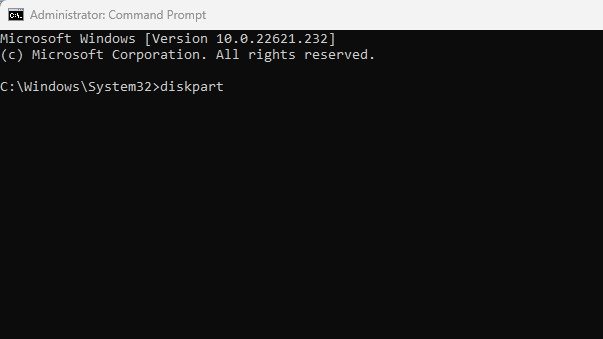
2. On the Command Prompt, type diskpart and press Enter.
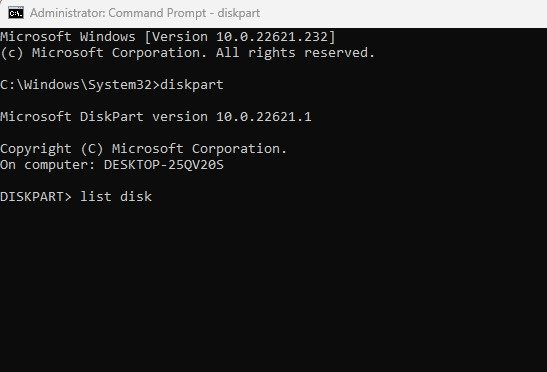
3. After executing the above command, type list disk and hit the Enter button. This will list all HDDs and SSDs connected to your PC.
4. Once done, note down the disk number and execute the command select disk X.
Important: Replace X with the disk number you want to format. For example, select disk 2.
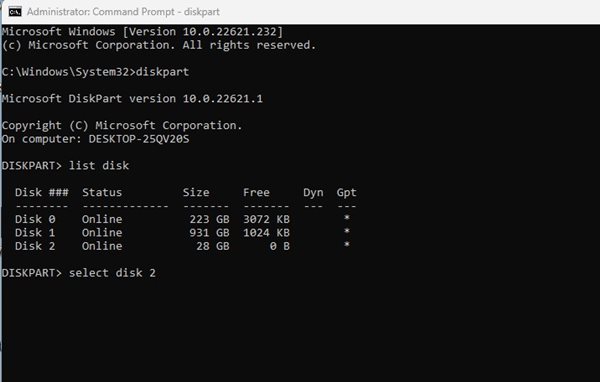
5. The Diskpart tool will select your disk. Once selected, type clean and hit the Enter button.
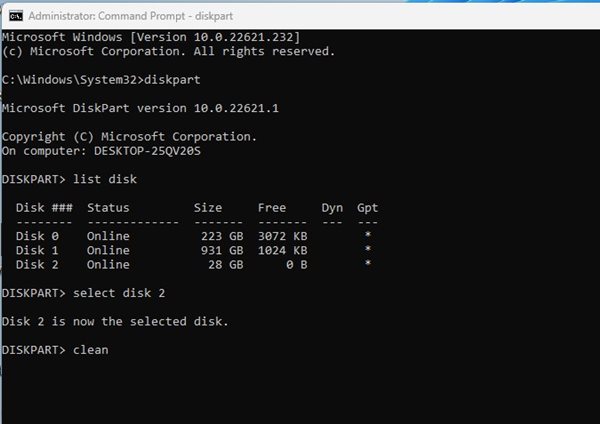
6. This will format your disk. However, you need to format the disk again in NTFS format and assign it a drive letter. For that, execute the commands one by one:
create partition primary

select partition 2

active

format FS=NTFS quick

assign letter=X

exit
Note: Replace the X in the 5th command with the disk letter you want to assign.
4. Format a Storage Device in Windows 11 via Disk Management
You can use the Disk Management utility of Windows 11 to format a hard drive or SSD.
1. Click on the Windows 11 search and type Disk Management. Next, open the Disk Management utility from the list of options.
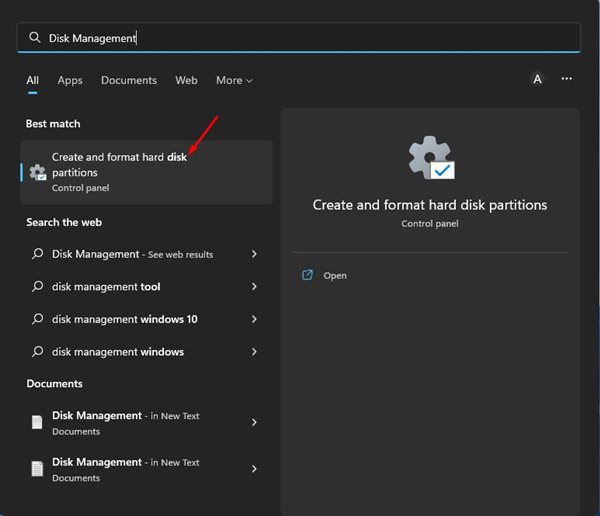
2. Right-click on the drive you want to format and select Format.
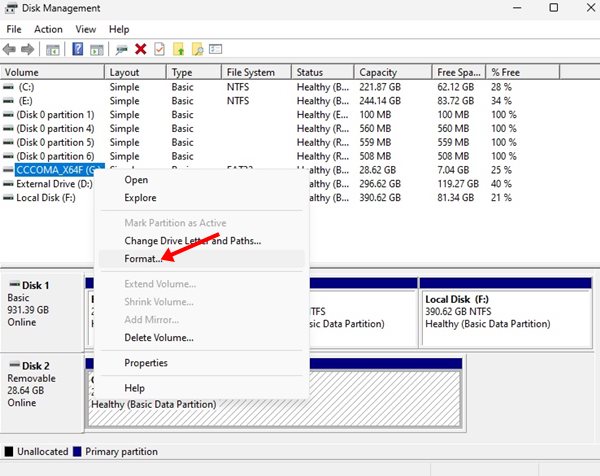
3. Set the Volume label and file system in the format prompt. Next, check the Perform a quick format option and click the Ok button.
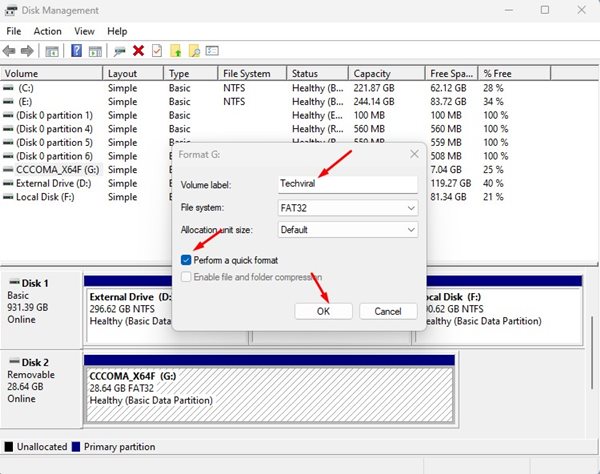
This will format your selected drive on a Windows 11 computer. You can also create new hard disk partitions via the Disk Management utility.
Also Read: How to Use the Disk Cleanup Utility on Windows 11
This guide is all about how to format a hard drive or SSD in Windows 11. Let us know in the comments below if you know any other ways to format a connected storage device.

